You’ve decided to start a WordPress blog, that’s great! You already have an excellent brand identity and some great ideas for content, and now you are ready to share your thoughts with the world. However there is just one issue, you don’t know where or how to begin. The initial set up may seem a little unnerving, and the thought of things going wrong before you have even got off the ground may be enough to put you off fulfilling your blogging ambitions altogether. So that is why we have written this extensive guide, to help you take that big first step and get you off to a great start with your new blogging ventures.
What is WordPress?
First of all, we will briefly explain what WordPress is and why this is the best choice to use as your blogging platform. WordPress is a free, robust blogging content management system and is probably the easiest and most popular platform that exists today, powering over 70 million websites worldwide, wow! WordPress comes in two varieties, the self-hosted version, WordPress and the free hosted version, WordPress. WordPress is what you will need today as this will give you so much more freedom with your blog. For self-hosted installations of WordPress, you will need a domain name and hosting. This essentially registers your website name and then homes your website files on a server so they can be viewed on the internet. There is a small expense for this however if you are serious about blogging, this is definitely the best option.
The Process
This is the order of the process for starting your WordPress blog:
- Set up a domain and hosting
- Install WordPress on your site
- Choose a theme
- Install and setup the theme
- Launch your blog
1. Setting up a Domain and Hosting
When you come to choosing a domain name, it is a good idea to do a little research first to make sure that your blog name isn’t already taken on social media sites, as we are sure you will want to link your blog to sites like Facebook and Pinterest. Choose a name that is in keeping with your brand, which is memorable, easy to spell and isn’t too long. You should also check that the domain name isn’t already a trademarked name, you don’t want to run into any legal issues along the way!
Once you have a domain name in mind, you now need to find a reliable hosting company for your website, such as Bluehost. We recommend using Bluehost because they are affordable, reliable and provide excellent 24/7 support where they are happy to answer any questions you may have. They also provide you with your domain for free, so that’s a big bonus! Bluehost is an excellent choice for a new blog starting out, however as your blog grows, it may be worth looking at a hosting service that can cater for large amounts of traffic with high performance. From our experience, we recommend using WP-Engine. WP Engine provides WordPress Managed Hosting, which means all technical aspects of running WordPress is managed by them, including security, speed, backups and updates. What’s more is their top-notch premium support. They are a little more costly, but for their extensive knowledge of WordPress and the fact they take the hassle out of all the technical stuff, we think they are worth the price!
Of course, there are many many hosting companies to choose from so you are not limited to only using Bluehost or WP Engine, but for the sake of this guide, we will take you through the process of setting up hosting and a domain with Bluehost.
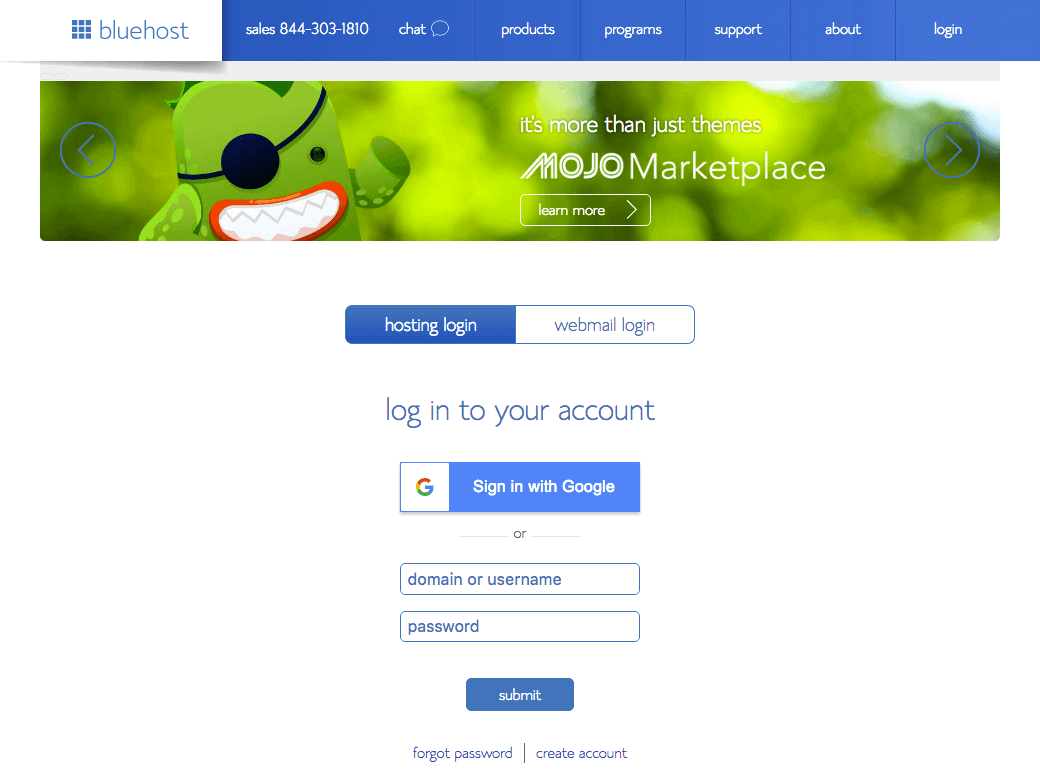
Once you are on the Bluehost website you will see this screen:
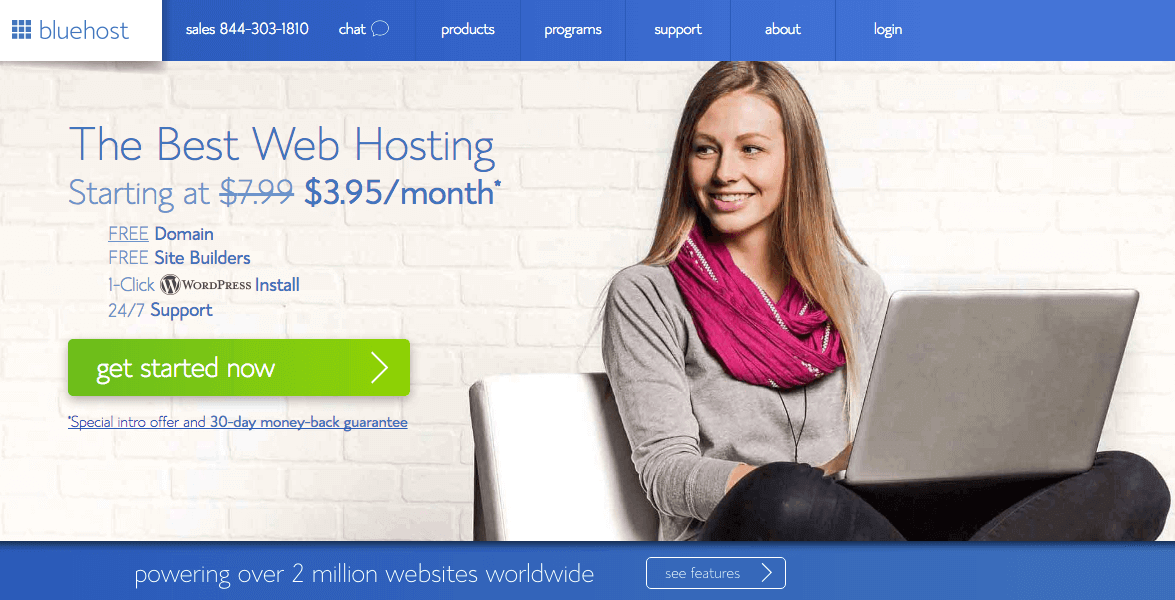
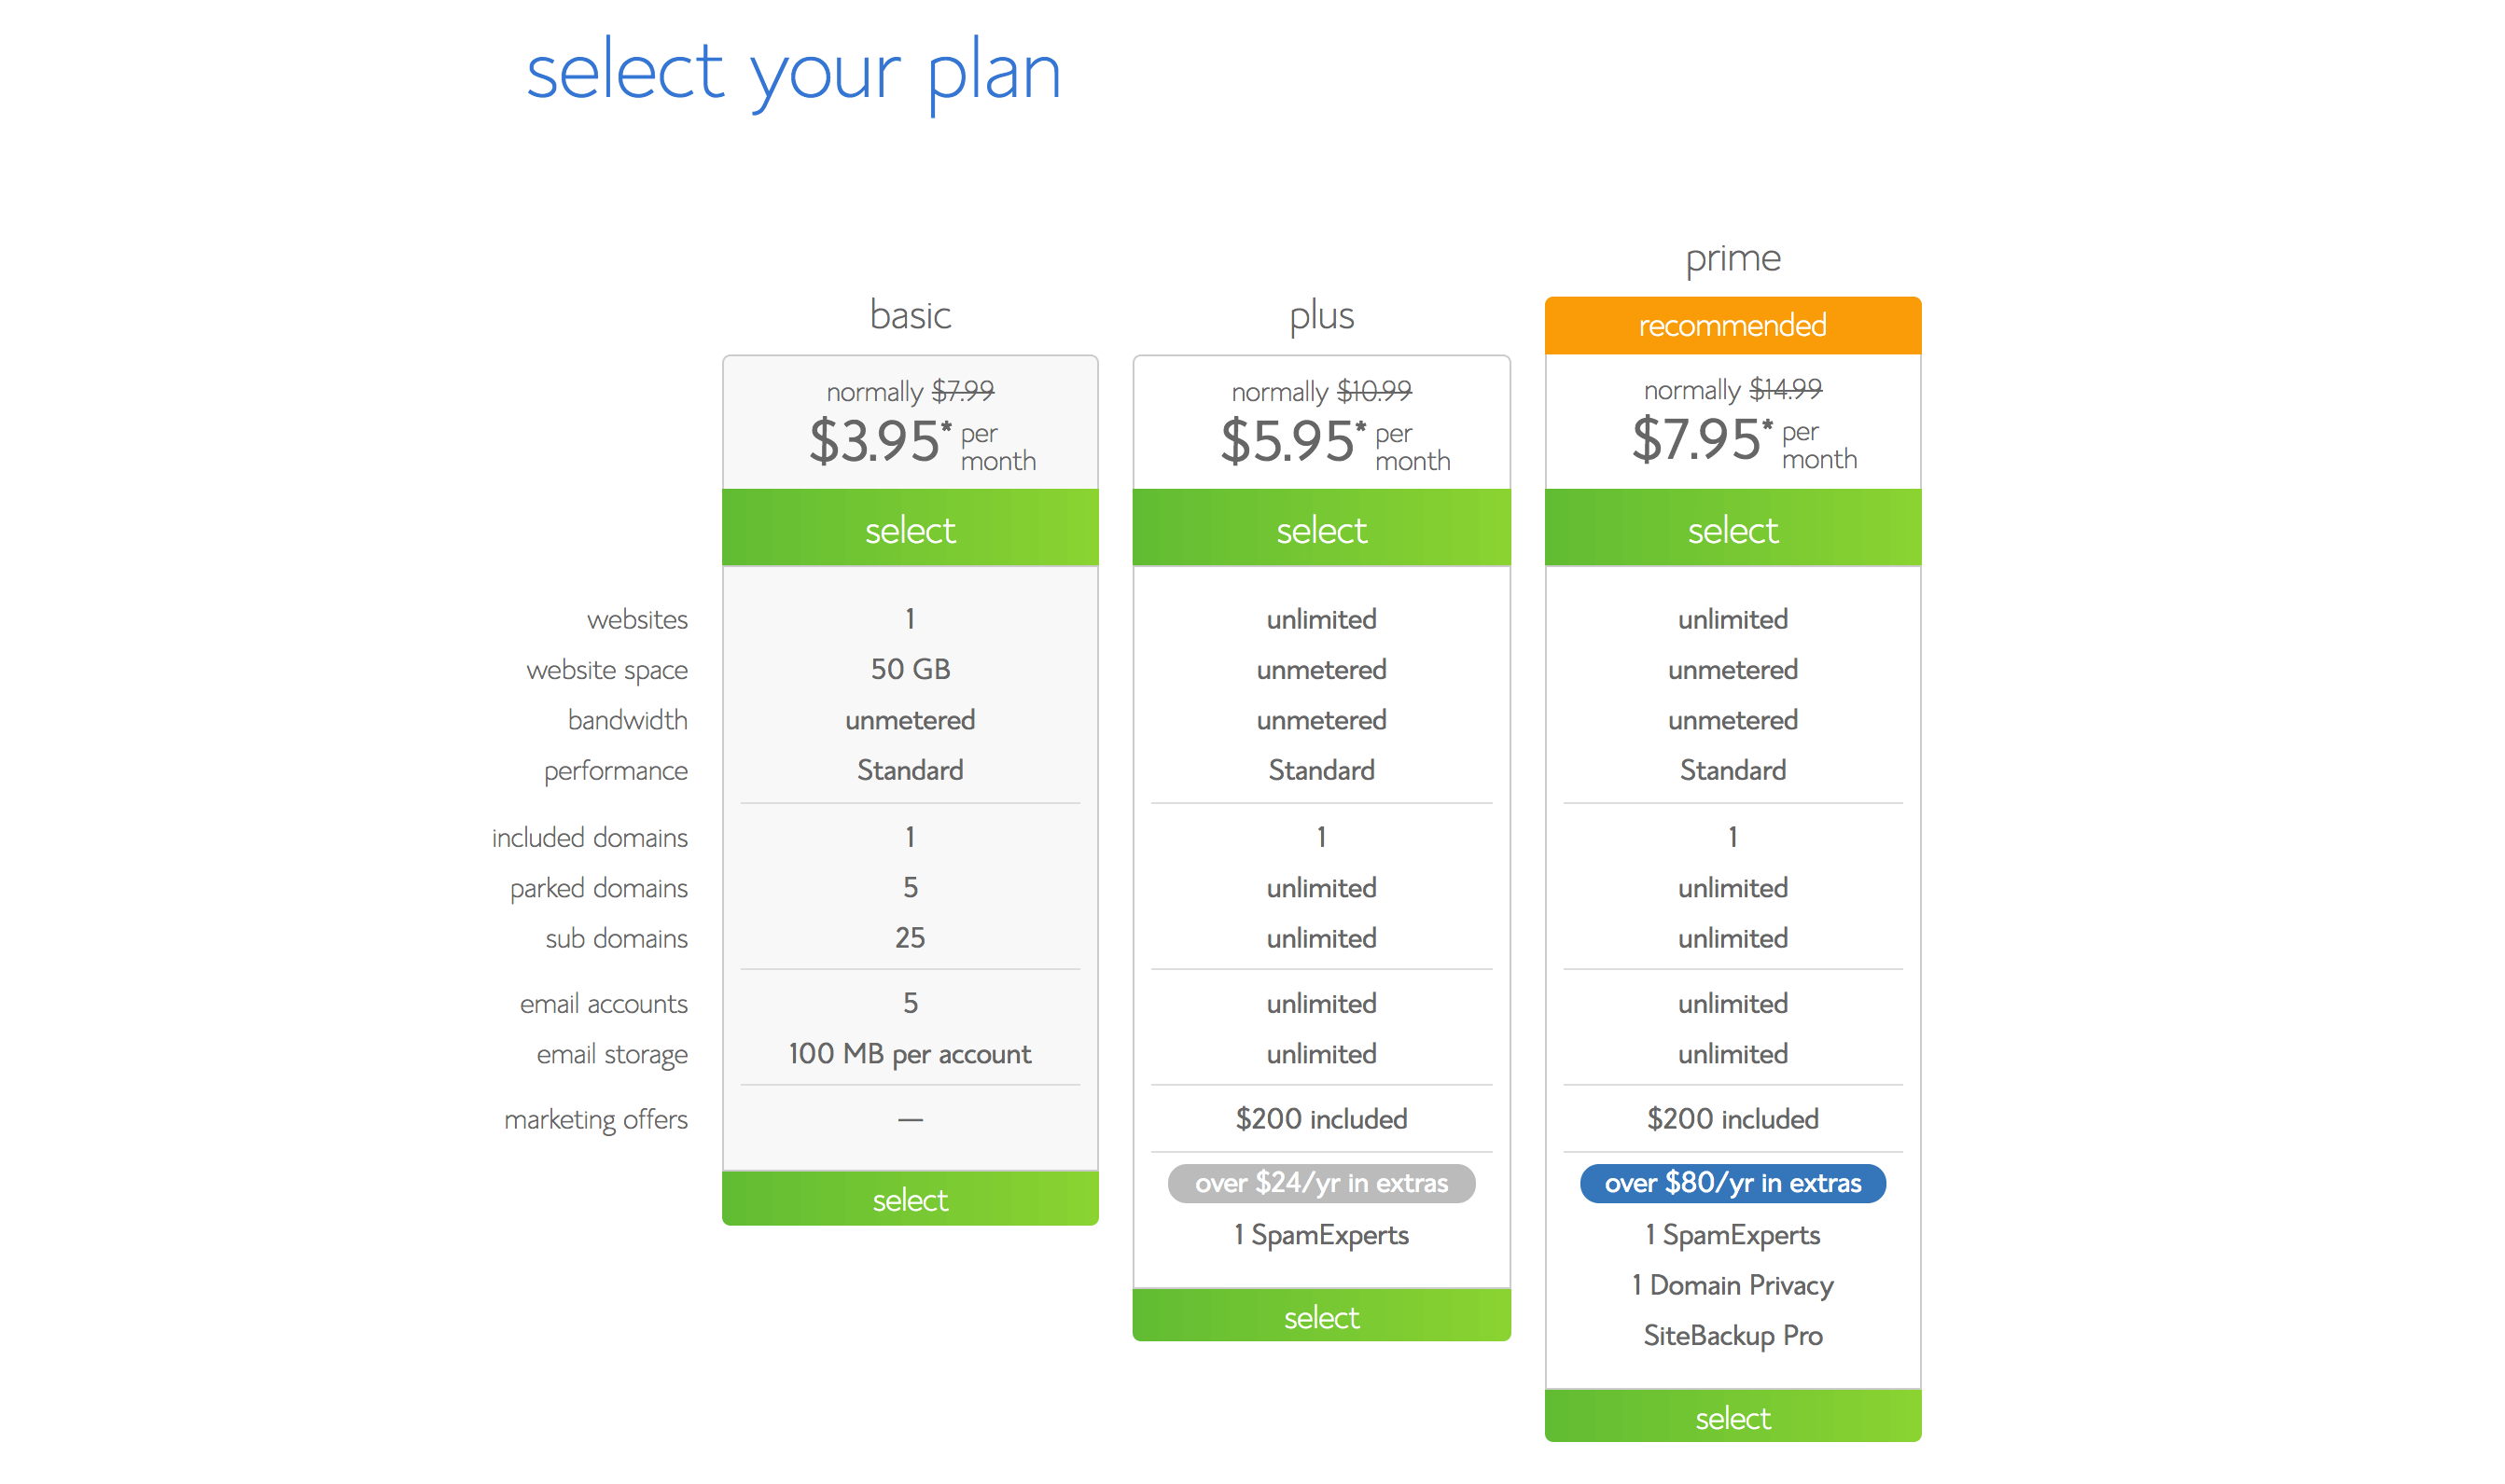
Click the big green ‘get started now’ button, and you will be taken to a page where you can select your plan. Bluehost recommend the Prime plan, and so do we. With this plan you get unmetered storage, unlimited email accounts and storage, plus an anti-spam service, domain privacy and a site backup service, all from $7.95 a month, not bad!
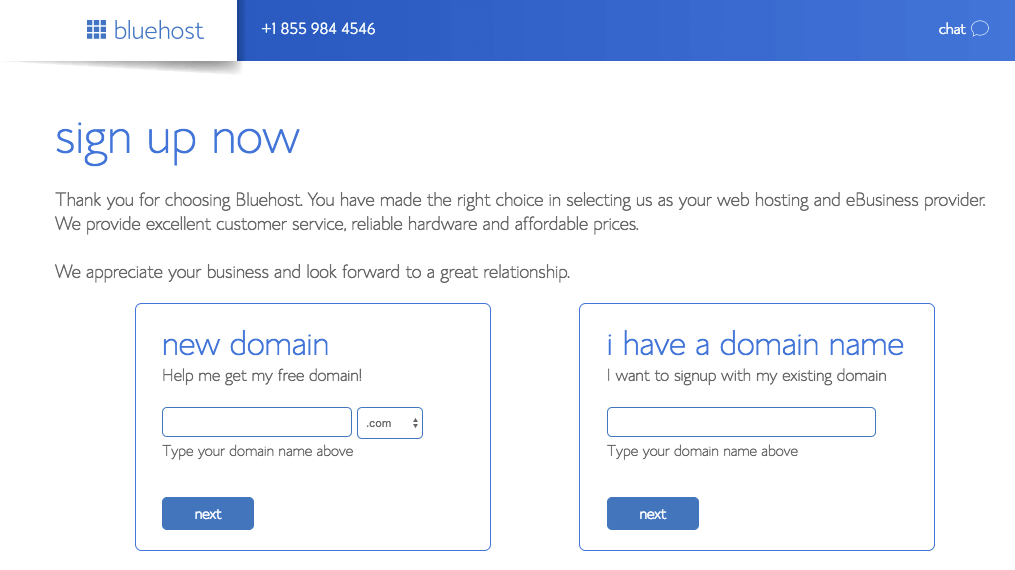
After you have chosen your plan, you will now need to provide your domain name. We mentioned earlier about the points to consider when choosing your domain name, now enter this name into the ‘new domain’ field to check if it is available. If it is, great, and click ‘next’ (check the spelling first!) if not, try to think of some slight alternatives that would work just as well. You can also skip this part altogether if you still haven’t decided on a domain name, (wait for the pop-up box to appear), you can add your free domain at a later time.
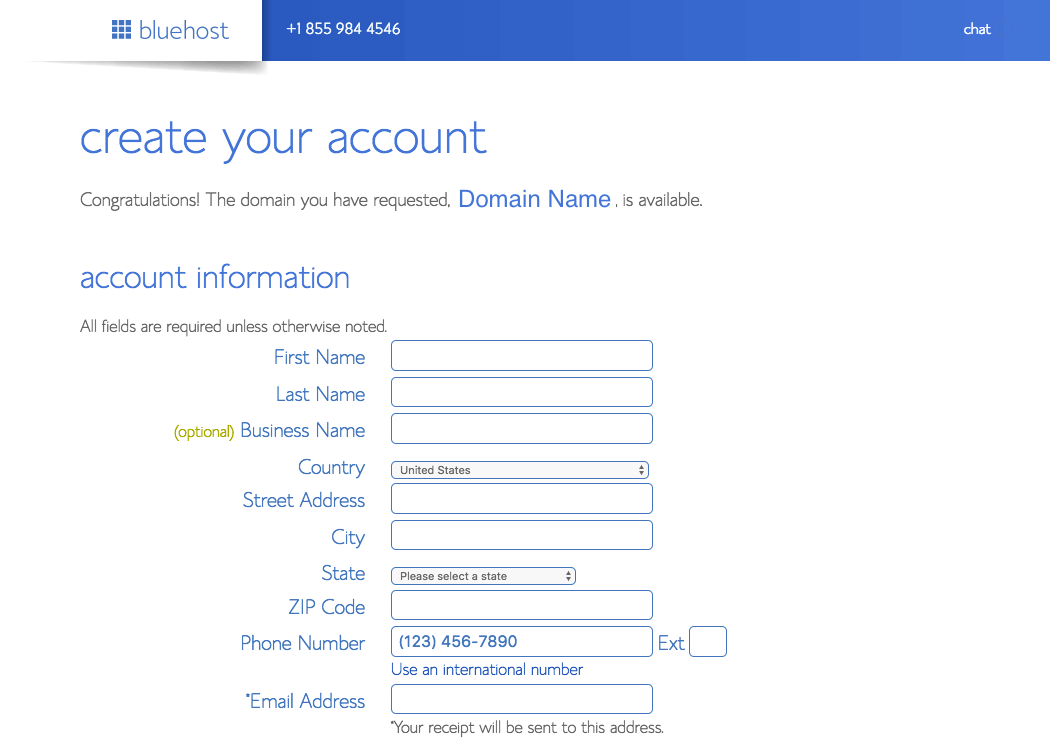
On the next screen, you will be asked to create your Bluehost account, simply fill in your account information.
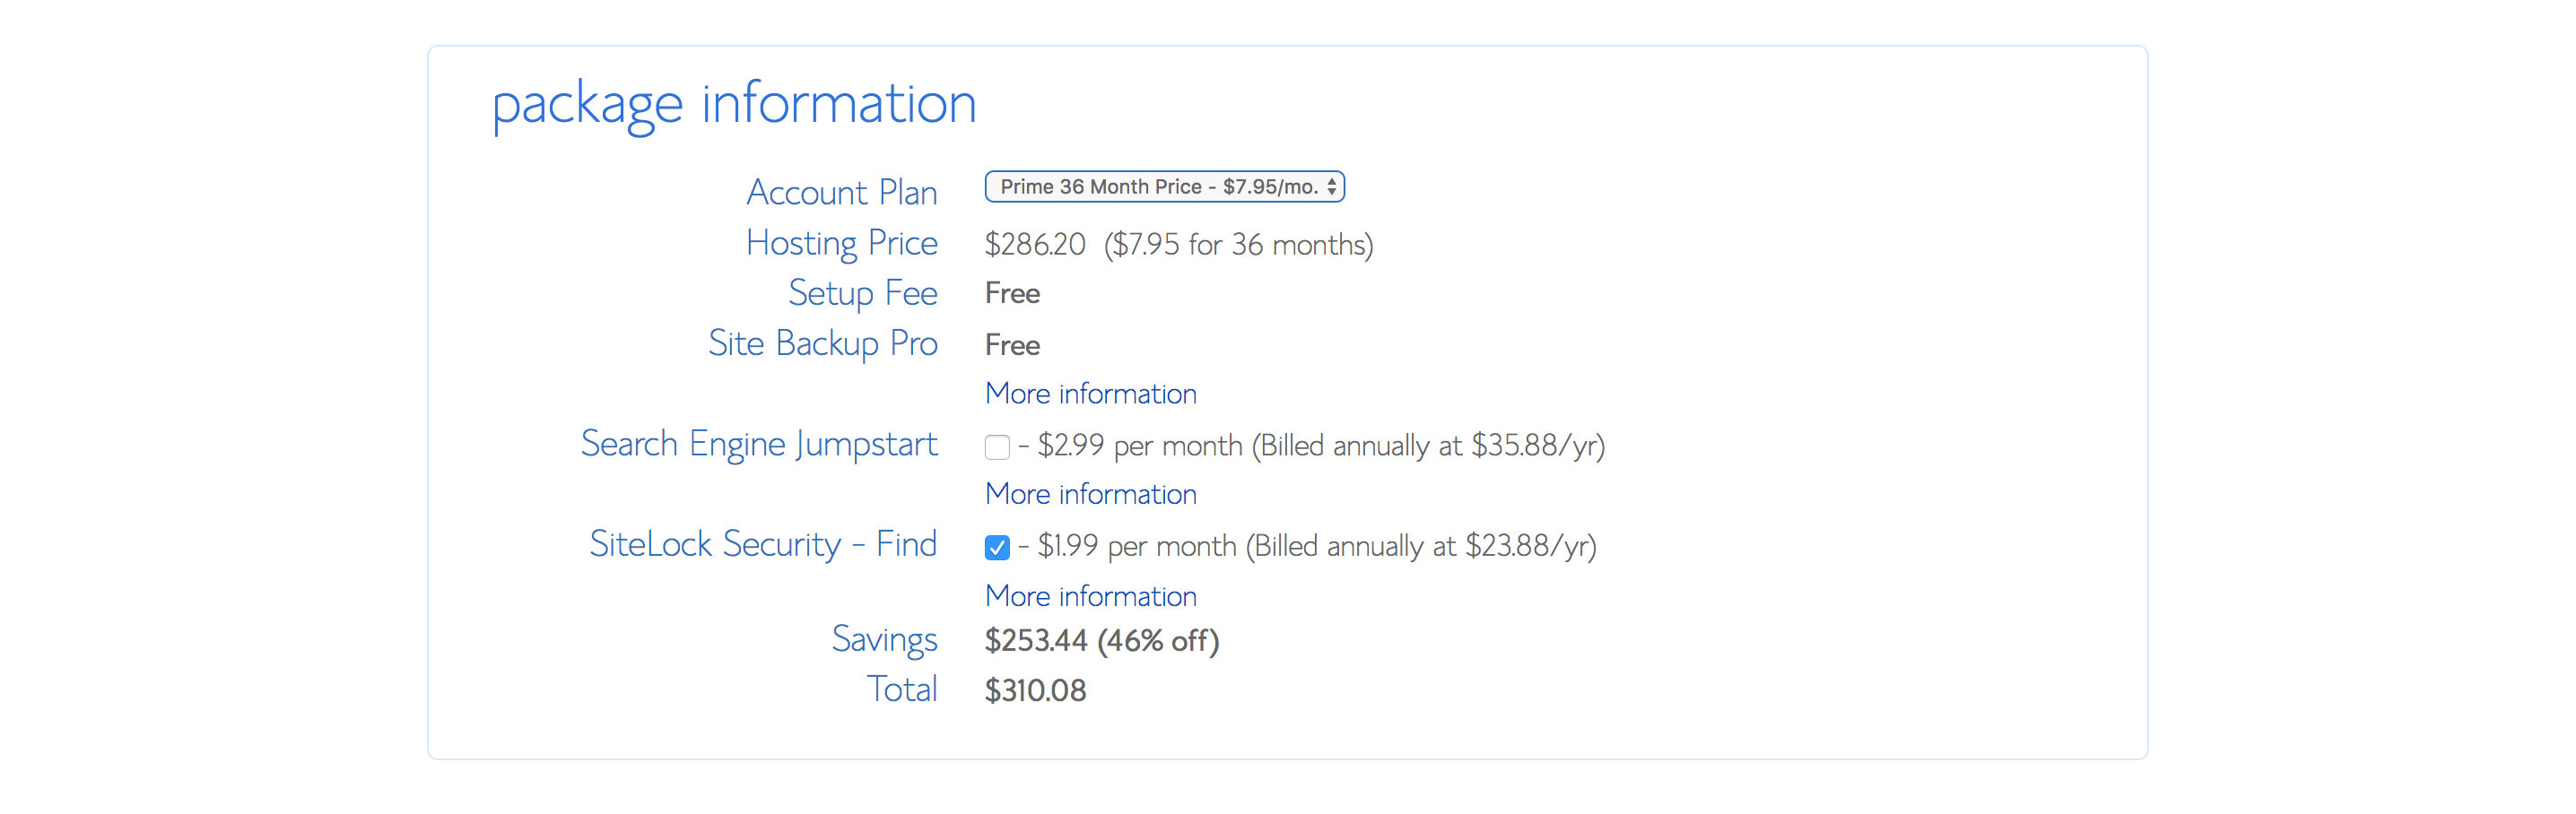
Then scroll down to select the account plan you want. You have the option for 12, 24, 36 or 60 months. The longer the term, the lower the monthly cost. In this case, for 36 months, the monthly price is $7.95, which is the most cost-effective option. Of course, which account plan you choose is entirely down to you, after all, there is a 30-day money back guarantee if you change your mind. There are also some additional add-ons that you can add to your chosen plan, such as Search Engine Jumpstart and SiteLock Security. Again it is entirely down to you if you wish to have these add-ons.
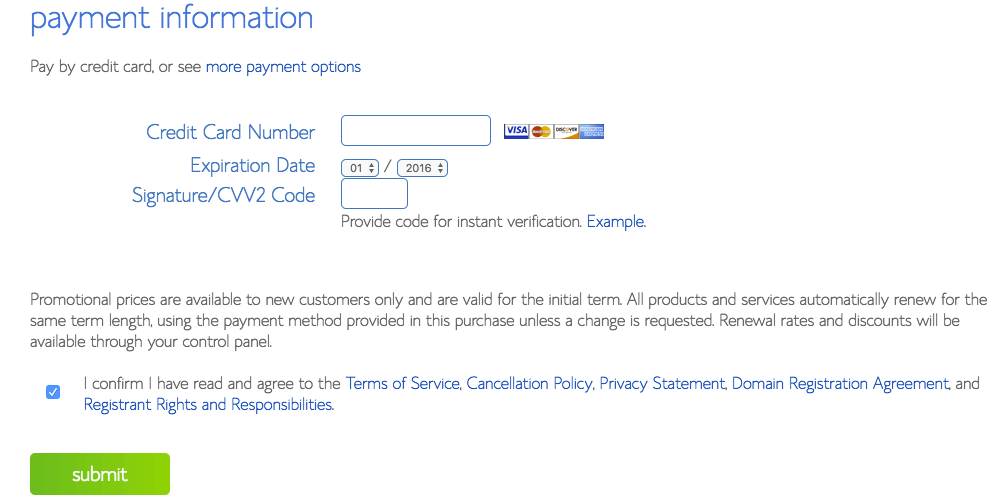
When you are happy with your chosen plan, enter your payment information, check the terms and conditions and hit Submit to complete your purchase.
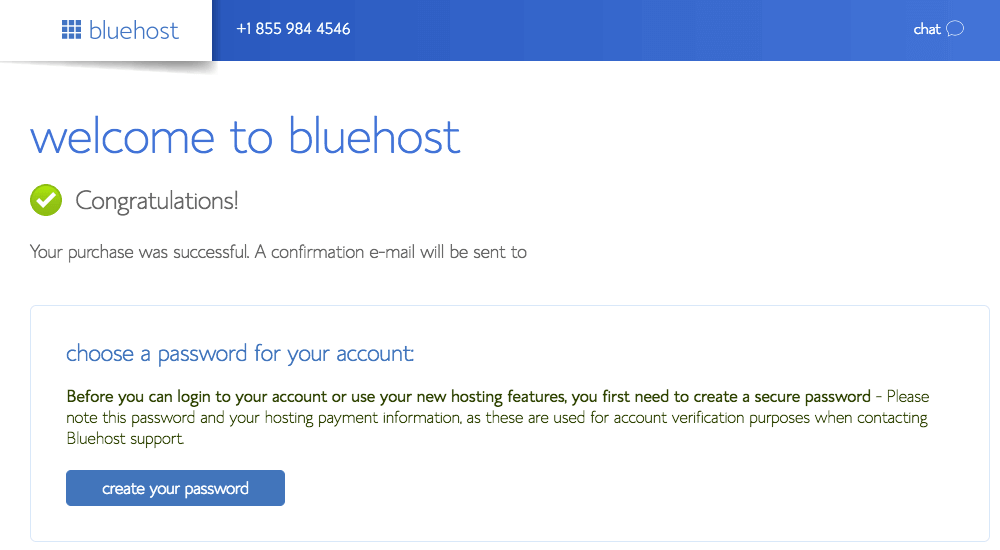
You will then be asked to create a password for your account, and that’s it! You now have signed up to Bluehost where you can log in and start installing WordPress!
2. Installing WordPress on Your Site
So now you have a domain and hosting all setup, you’re well on your way! The next stage is to install WordPress, which isn’t as technical as it sounds. First, you need to login to your Bluehost account with the details you have just created.
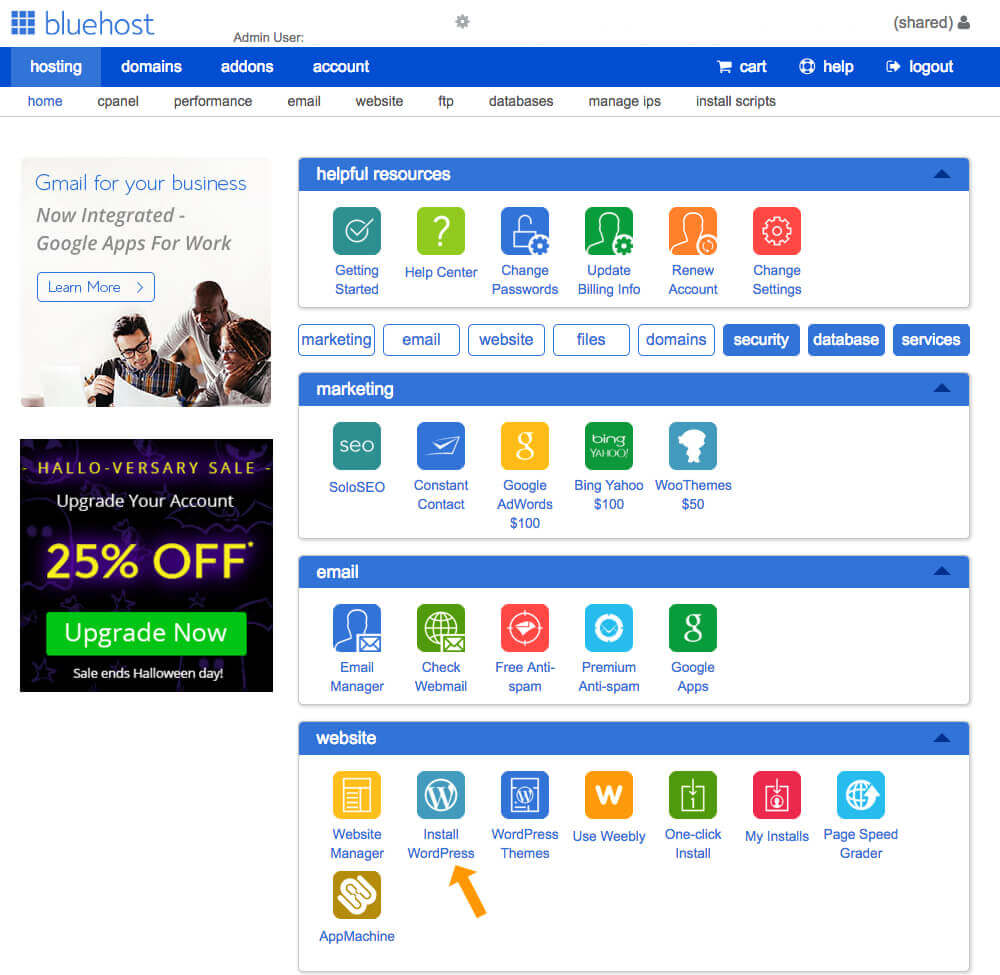
Once logged in you will be on your Bluehost account dashboard. From here find the WordPress icon as shown below:
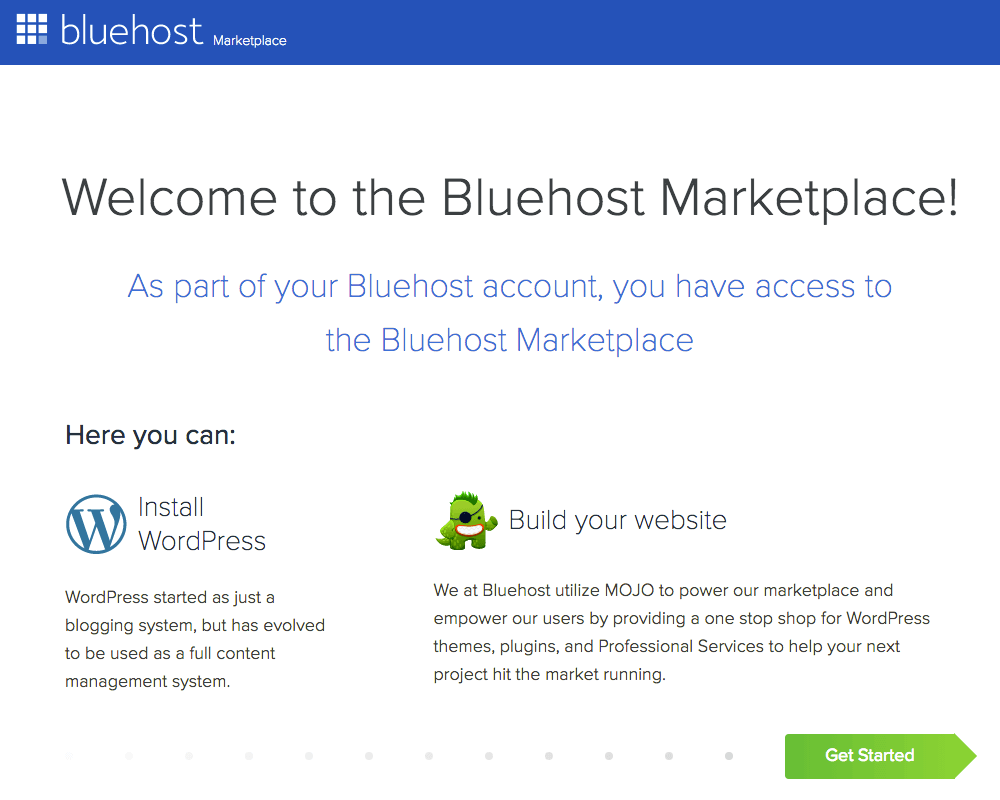
On the next screen click the green ‘Get Started’ button.
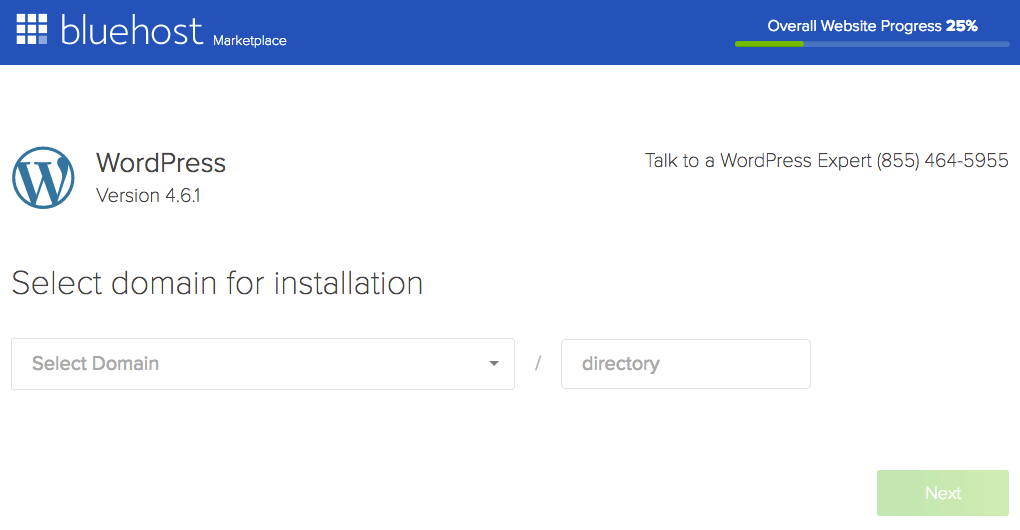
Then select the domain you want to install WordPress onto and click Next.
Now enter your blog name, this will be the name that appears in the header of your blog. Enter an admin username and password; this will be what you will need to login to your website to get to your WordPress dashboard. Check all the terms and then click ‘Install’.
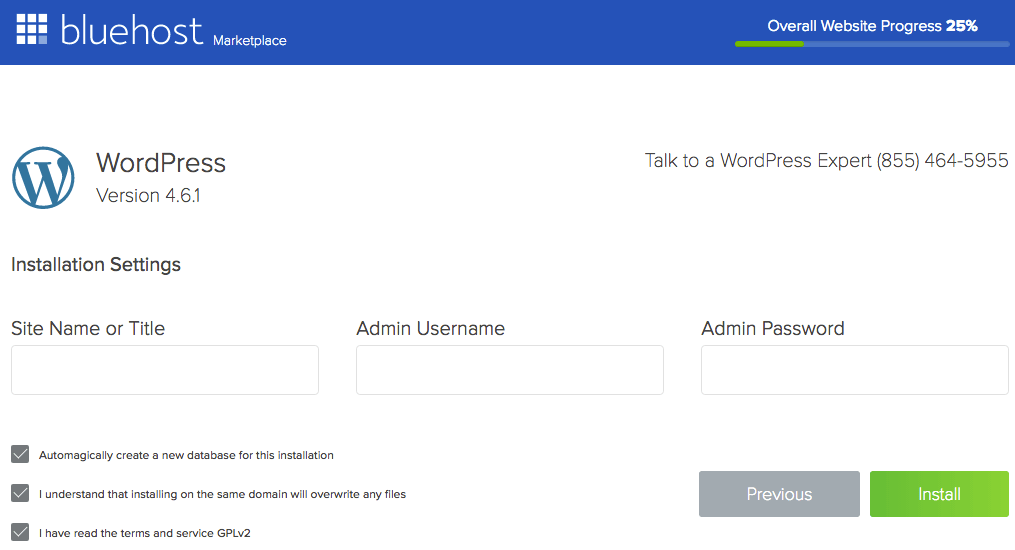
Now, wait for the installation to complete. While you are waiting, Bluehost suggest browsing some premium WordPress themes from their partners, Mojo Marketplace, (psst…we have themes on Mojo Marketplace 😉 ) this won’t interrupt the installation process.
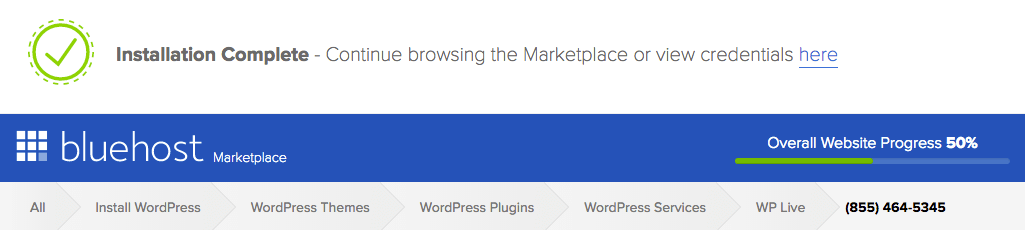
When you get ‘Installation Complete’ message, you can then click to see your credentials to recheck your WordPress login details and view your admin login URL.
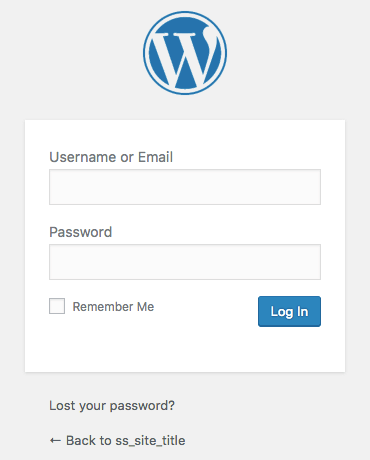
Your admin login URL will look something like this: www.yourdomainname.com/wp-admin, you will also find this URL in your confirmation email from Bluehost. Click this link and then fill out the login form with your WordPress username and password. Once in, you will have reached your WordPress dashboard.
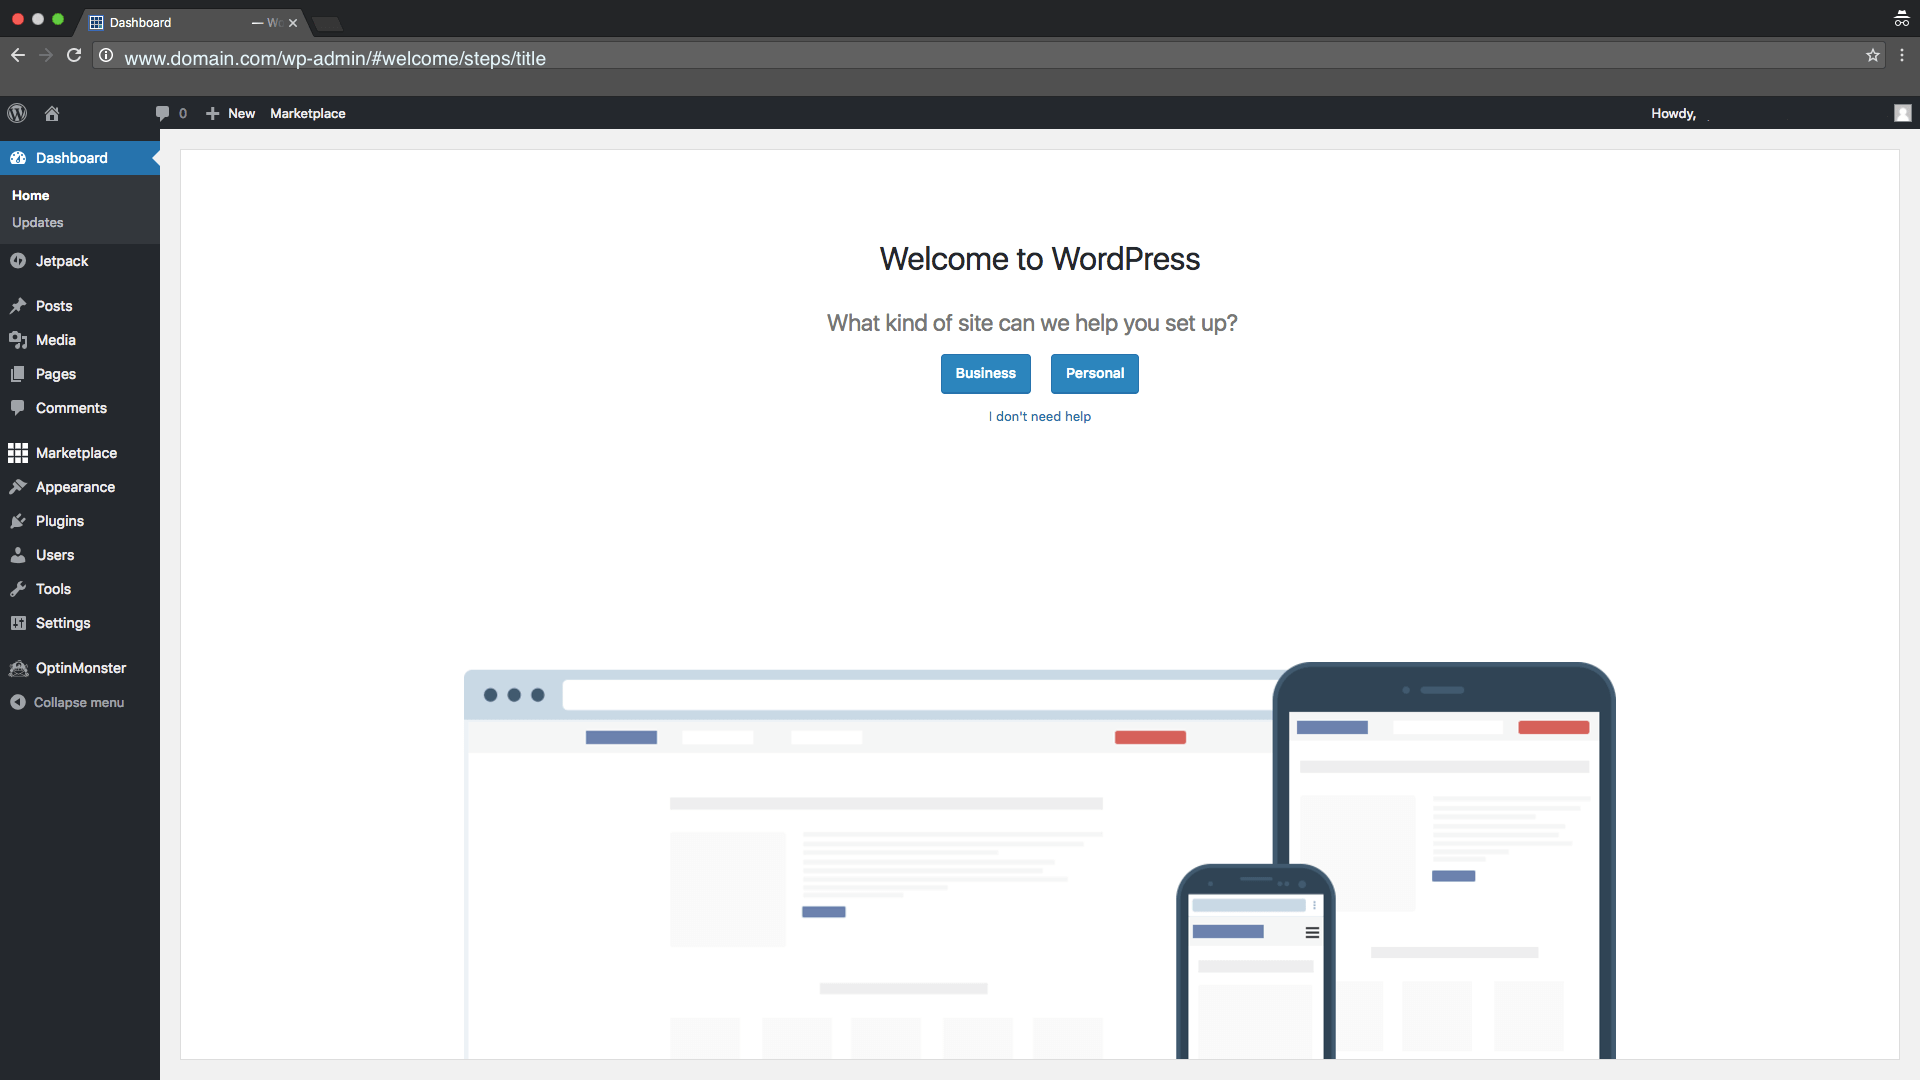
And that’s it! You have now successfully set up your first WordPress blog and are ready to start publishing some fantastic content for the world to see. Now is the time you can search for the perfect theme!
3. Choosing a WordPress Theme
‘What exactly is a theme?’ You ask. A theme essentially provides all of the front end stylings to your WordPress blog, so the design, look and feel of your blog are being generated from the theme. It also determines how your content is displayed. Although there are thousands of free WordPress themes out there, the benefits of purchasing a premium theme over a free theme are that they are usually a lot more robust concerning code, have more options and features, and come with premium support. Not to mention that you will instantly look like a pro! You will generally be looking at around $50 for a premium WordPress theme which, when compared to a custom built website costing anything from a few hundred dollars to a few thousand dollars, is a significant saving! A bespoke website is something you can definitely consider in the future as your blog grows and you require more custom features but for when you are first starting out, a premium theme seems the best option.
There are lots of different WordPress theme marketplaces you can browse to find just the right theme to suit your blog - two great places in particular to try are Creative Market and Mojo Marketplace, as mentioned before.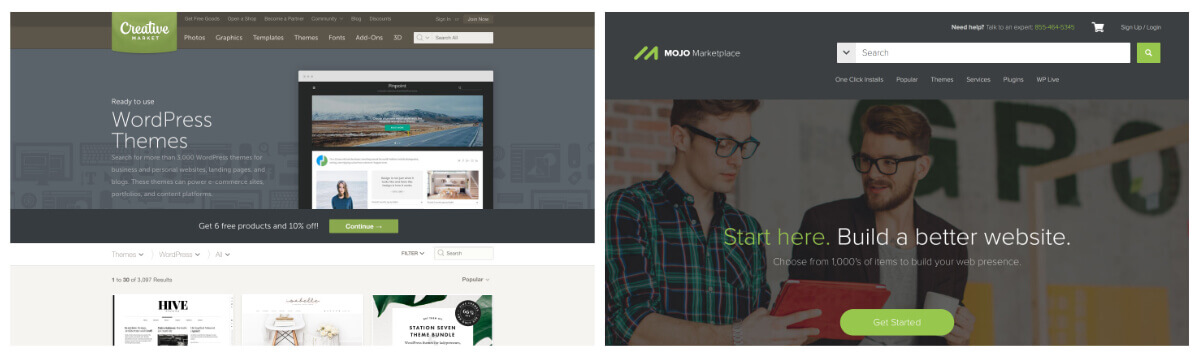
Of course, we are going to suggest our themes too as a great choice for your WordPress blog! Each theme is beautiful yet simple in design, is easy to set up and customize and comes with our premium support. Head over to our shop and check out our collection of themes, you may find the perfect theme for your blog’s needs! And as a little thank you for reading this far through this setup guide, we are offering you a special gift of 30% off any WordPress theme of your choice! All you need to do is enter STARTBLOGGING30 at the checkout!
4. Installing your New WordPress Theme
You’ve now found your dream theme, yay! The next step is to install it on your site. Locate the theme files you downloaded after purchase and find the ‘theme-name.zip’ folder. Go to Appearance > Themes > Add New and then click Upload Theme. Then click Choose File, select the theme zip file and click Install Now. Once installed, activate the theme and the required plugins. Done! You can now view your site with your newly activated theme by clicking on your site name in the admin bar.
Take a look at the video below showing the process of installing your new theme.
(If you need a helping hand with the installation of your new theme, don’t forget that we offer free installation for any of our themes.)
Don’t be alarmed that your blog looks nothing like the theme you have just purchased after installation; it will soon begin to come together once you start adding in your content and configure the settings, that is the next stage!
5. Getting ready to Launch your First WordPress Blog!
So far you have purchased a domain and hosting, installed WordPress, chosen and installed a premium theme, and now is the time to start creating your posts and customising the theme to your liking. This is the part where you can have fun and make the theme your own by adding your custom logo, changing the colours, the fonts, and the layouts. Most customization options for your theme are within the WordPress customiser where you can live preview the changes as you make them.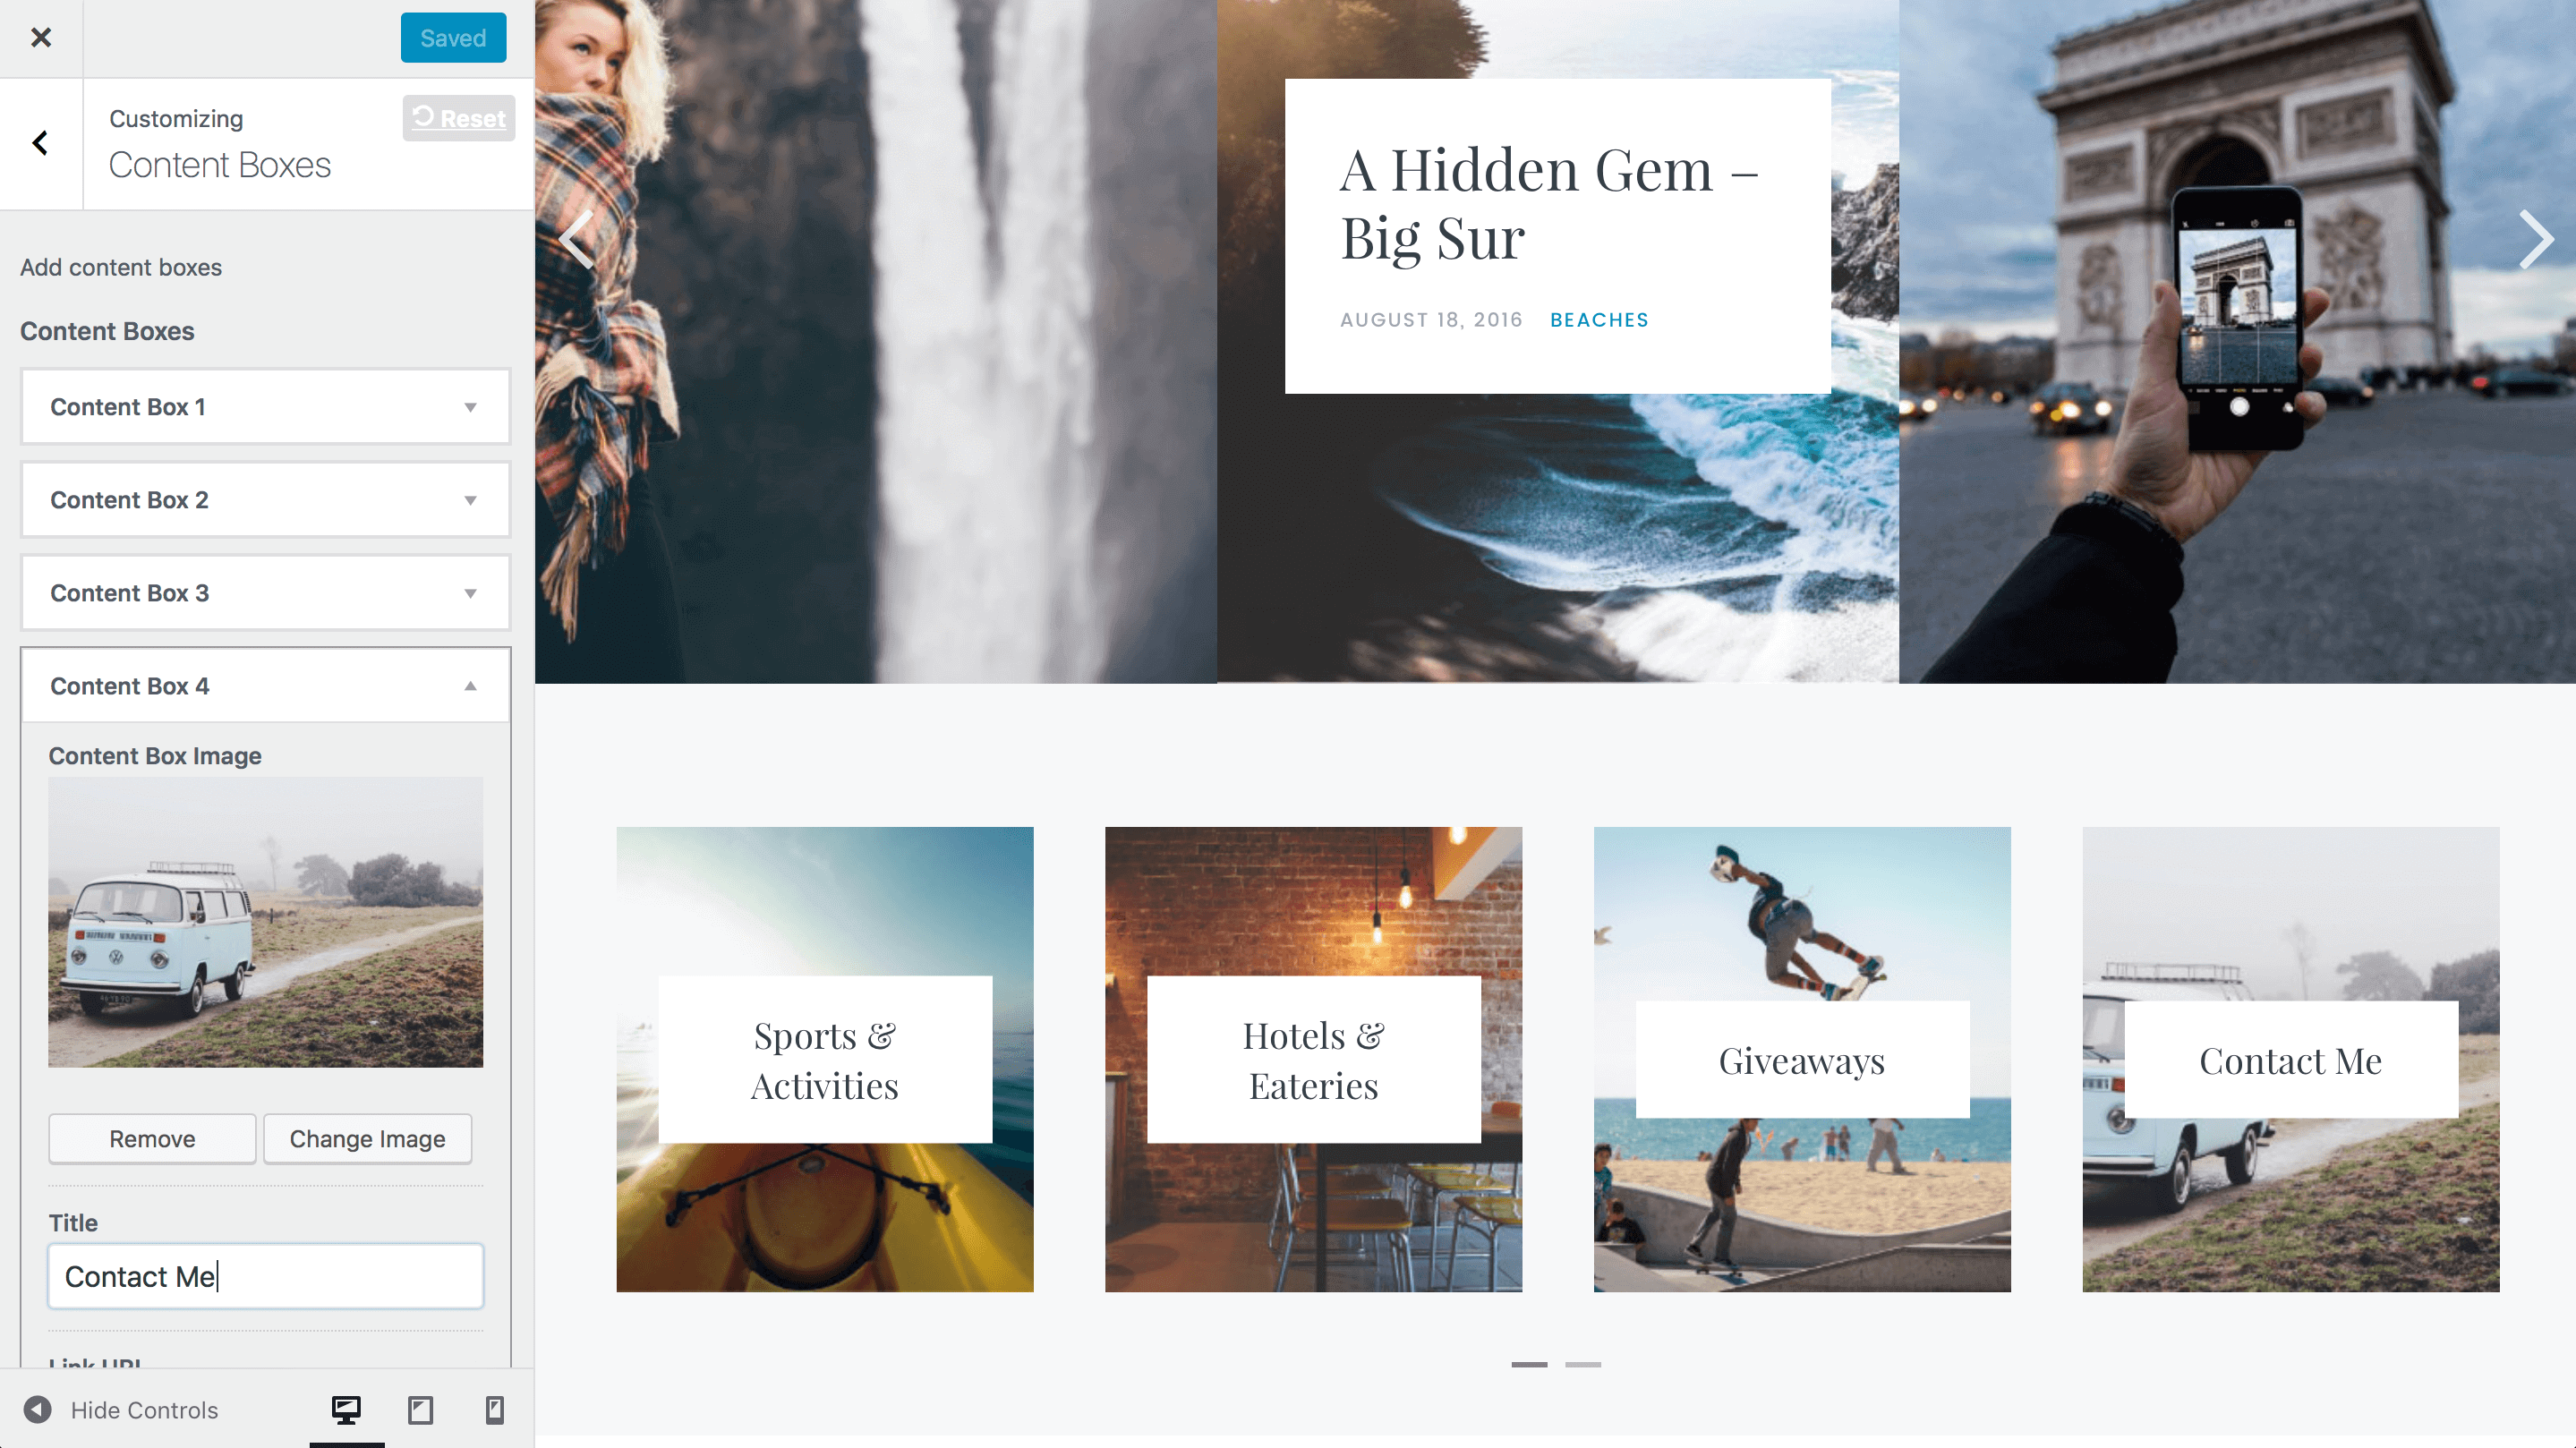
If you get stuck with any of the WordPress basics then the documentation and forums on the WordPress website are a huge help.
Once you are happy with how your WordPress blog is looking, and you have some great posts that you just can’t wait to share, you are ready to make your blog live. Simply remove the temporary holding page on your dashboard and your blog is now available for the world to see!
And that is it - you have now successfully set up and launched your first WordPress blog! When you break down the process into these easy stages, it doesn’t seem so nerve-wracking after all. We hope you have found our setup guide useful and it has given you that final push to say “yes, I’m going to start that blog, now!”
If you have any questions about the setup process or want to know more, then get in touch, we will be happy to help.
Happy blogging!

Hello,
I have researched about choosing a specific web host. I ended up having many options. Can you tell me if Bluehost is the ideal one to host my website on?
Hello there, Bluehost is a great choice for hosting your website as they are affordable, reliable, have great support and their servers are powerful enough for running a WordPress blog.
This is a very good article for those looking for a guide to WordPress blog. Nowadays I’ve seen many sites run with WordPress and I find the UI very nice too. Good work!
Such a detailed one I am sure many WordPress beginners will learn alot for this guide. Good Job!