Many WordPress themes today come with the option to change the fonts used in the theme. They may say in the description that you will have 600+ Google fonts to choose from; however, you may be limited as to what text elements of a theme you can actually change. I want to share with you an excellent plugin for WordPress that will allow you to replace the font for ANY text element of a theme and I will run you through how to use this plugin, which is Google Typography.
We recommend the Google Typography plugin frequently when we are asked by customers how to change the font of specific text areas of a theme. For example, we add in default fonts to be used as the site titles in our theme’s headers as part of the theme design. However, if someone would like to change the font for the site title, they can easily do so with the Google Typography plugin.
How the Google Typography Plugin Works
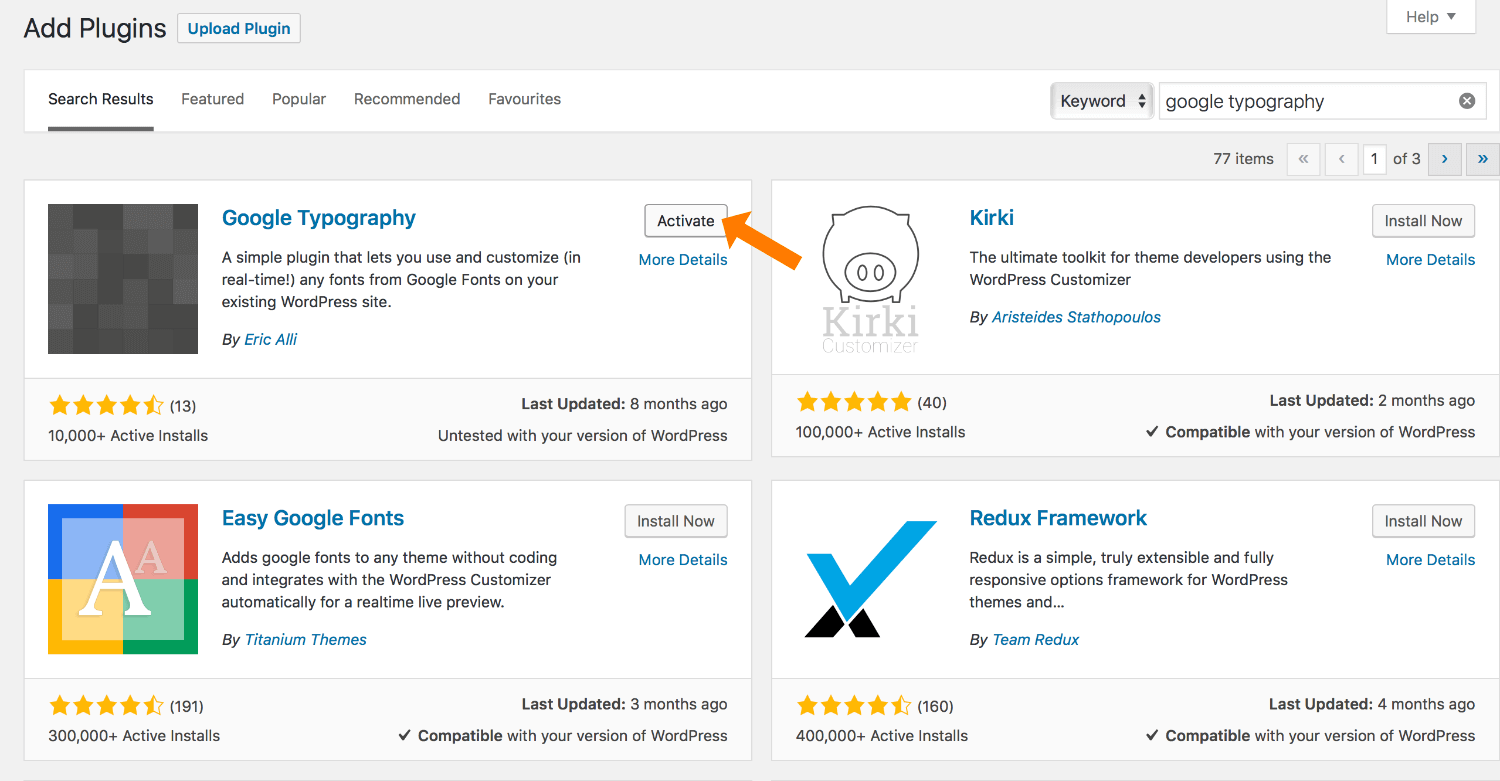
Let’s get started! Go to Plugins > Add New and in the search field, type “Google Typography”. The first result is the one you need, so click Install Now and then Activate.
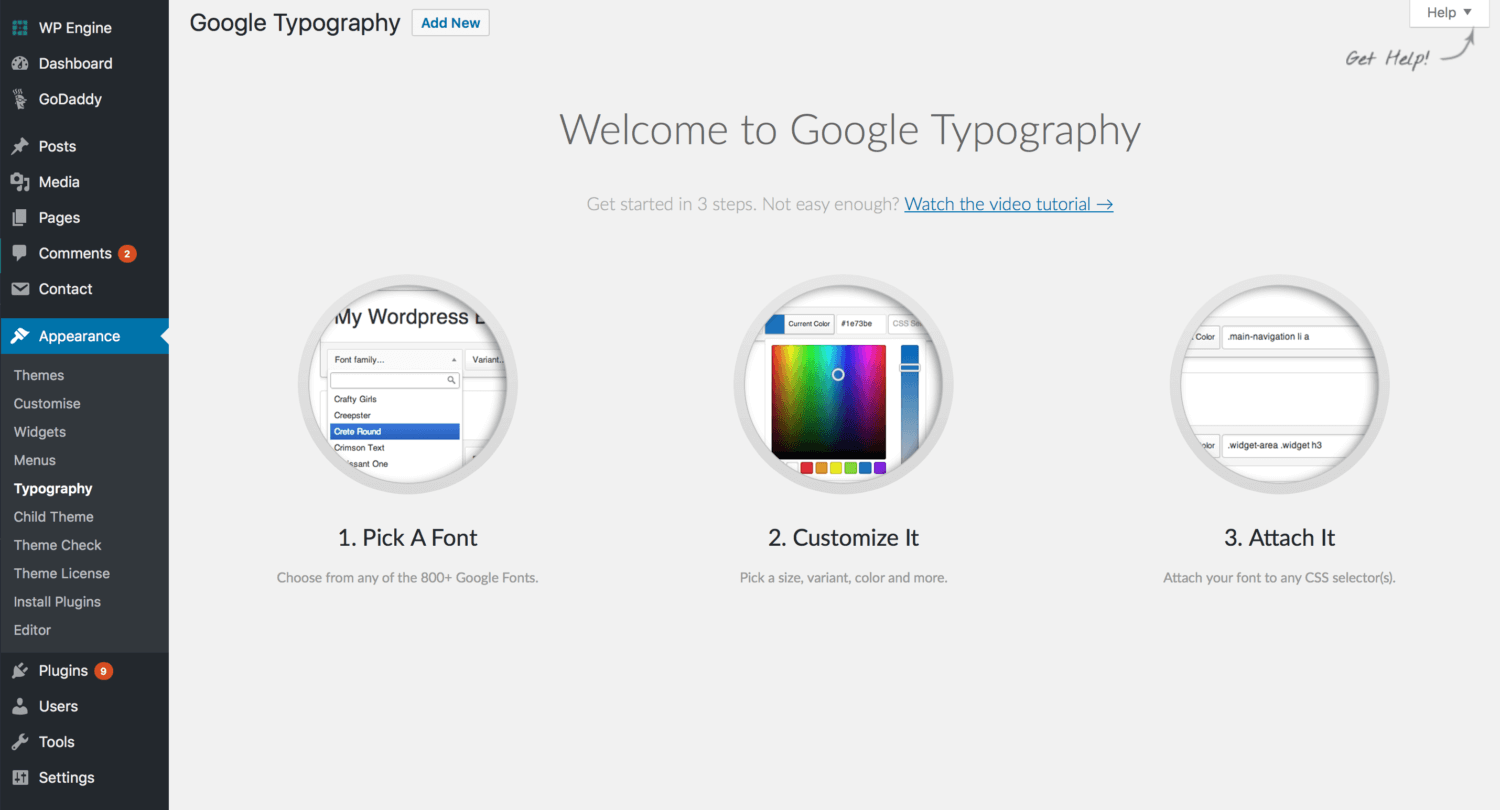
Once the plugin is activated, go to Appearance > Typography. At the top of the screen, you will see a button for Add New, click this.
Next, you’ll see a new, blank typography panel. I will first explain how to use the plugin by changing more generic text elements, such as the paragraph font and header fonts.
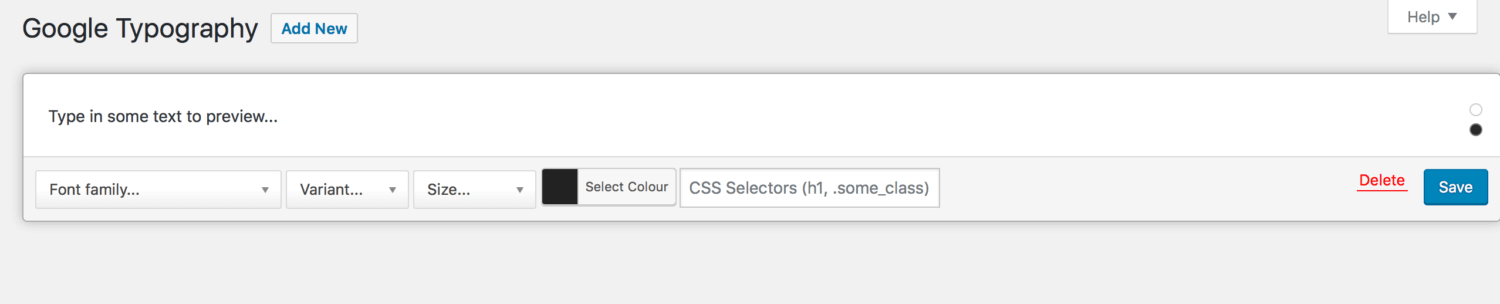
To change the paragraph font, in the CSS Selectors field at the bottom of the panel, enter the HTML tag for the paragraph tag, which is just ‘p’. Enter some text into the preview box then select the font of your choice from the font family drop-down. You can also change the colour and font size here.
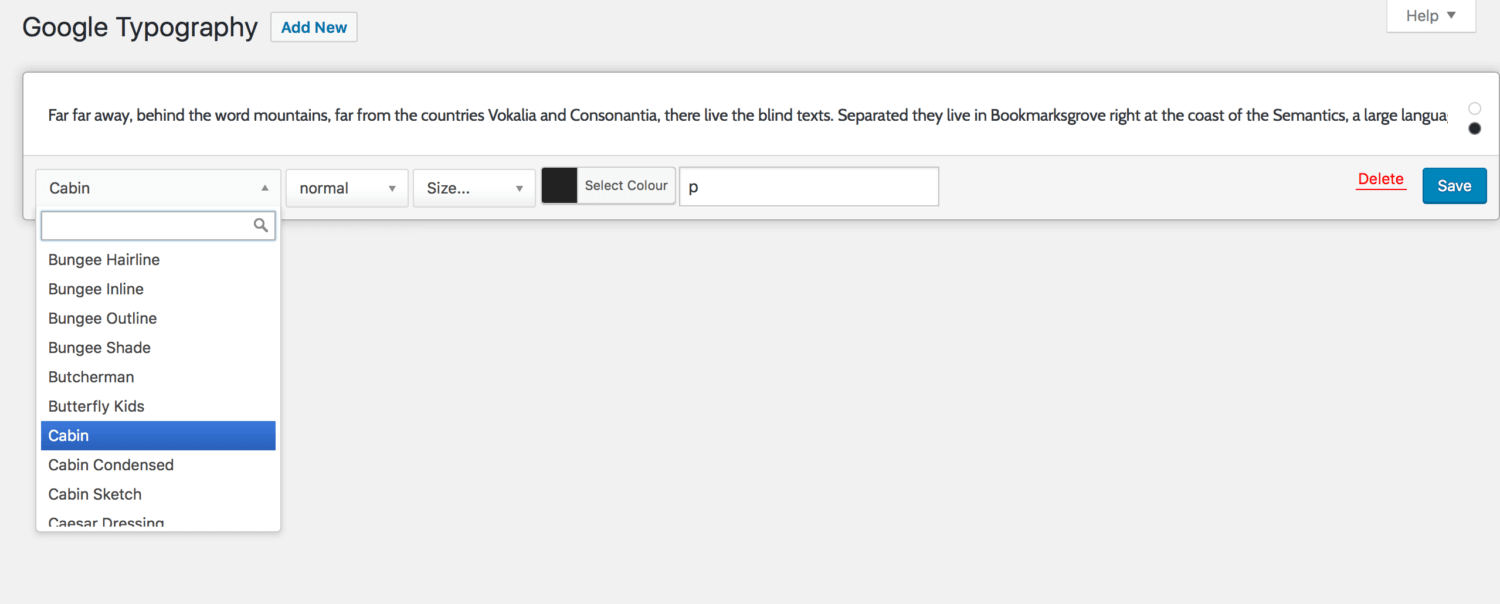
When you have finished, click ‘Save’. Your paragraphs will now be in your new font choice, size and colour.
To change the font for all of the headers, enter the HTML tags for each of the headers you want to change (h1, h2, h3, h4, h5, h6 for all of them) and separate each tag with a comma (,). Again, enter some text into the preview box and select the font of your choice from the font family drop-down, and also change the colour if you wish.


If you also want to change the size of each header tag font and have a different colour for each header, for example, you will need to add each header tag separately in a new typography panel as the size and colour change will affect all of them.
Using ‘Inspect Element’ to Target More Specific Text Elements
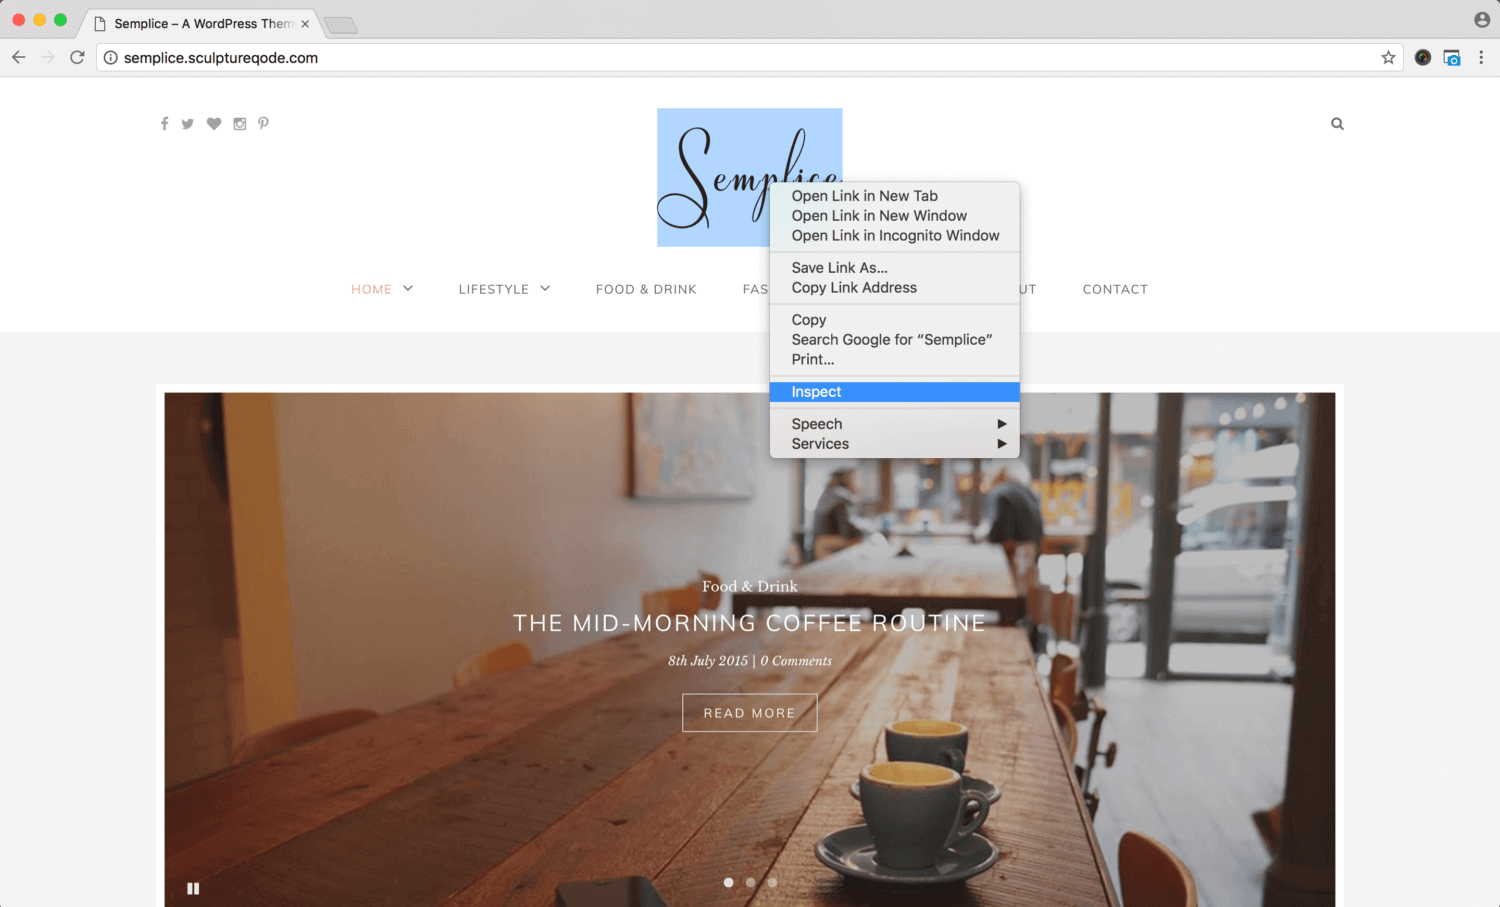
But what about changing the font of more specific text elements? Let’s take the site title in your theme for example as I mentioned earlier. To change the font for this, you will need to target this text element specifically, and the way you can do this is by using your browser’s ‘web inspector’ tool. Not all browsers will have this feature though, but all modern browsers, such as Chrome, Safari and Firefox do. For the sake of this post, I will use Google Chrome as the browser for inspecting the element.
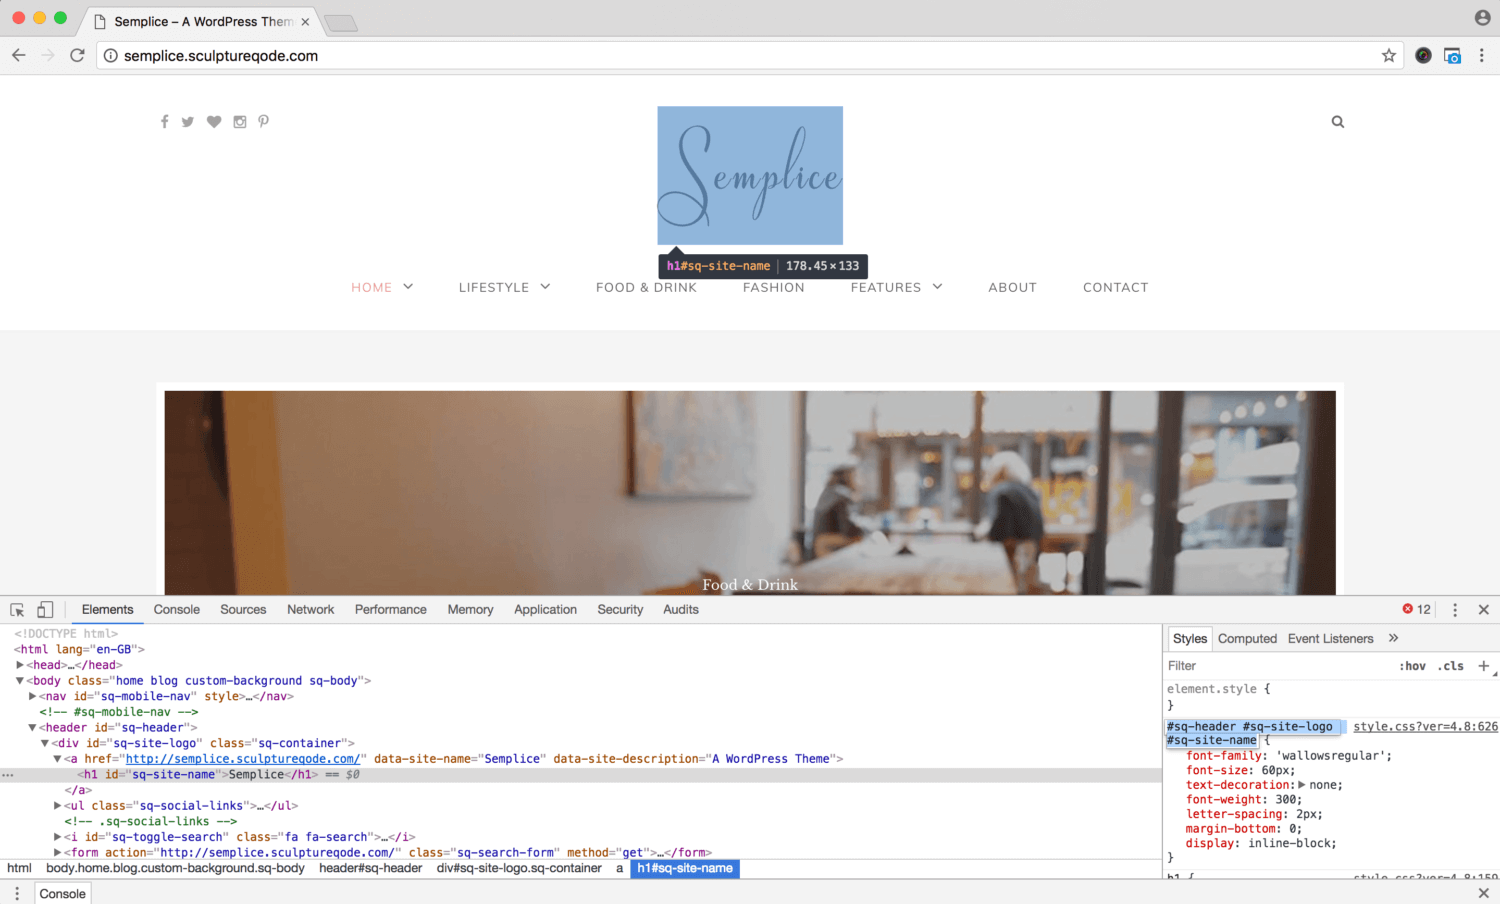
The developer tool will already be activated when you open the Chrome browser; there is no need to turn it on like in some other browsers. Right-click on the element you want to inspect, so in this instance, let’s inspect the site title in our Semplice theme.
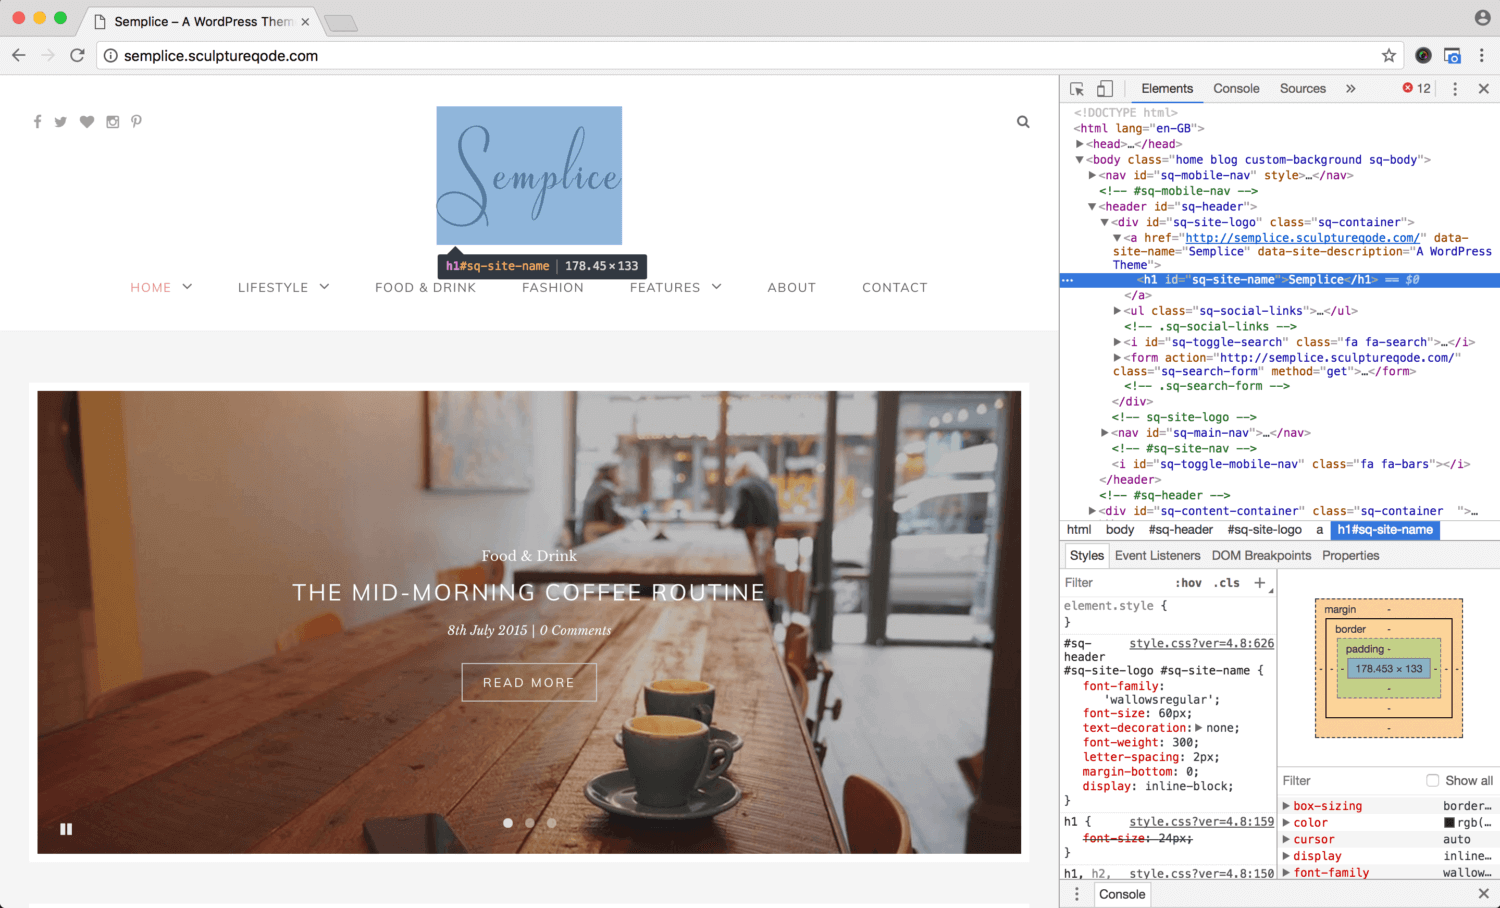
You will then see the developer tools window appear which will display the HTML markup for the site, any errors that may be occurring on the page, sources for the page and the CSS styles of the elements on the page.
You can change the location of where you want the developer tool window to dock by clicking on the three vertical dots at the top right of the window - I prefer to have the window docked to the bottom of the screen as it makes it easier to see what you are looking for.
Locating the Selector
What we need is the CSS selector for the site title. A CSS selector targets the content that you want to style. In the developer window, the inspected element will be highlighted in the HTML markup and the element selector you need is at the top, in the Styles tab. The selector for the site title here is:
#sq-header #sq-site-logo #sq-site-name
Now copy this selector and then go back to the Google Typography plugin.
Changing the Targeted Text Element with Google Typography
Open a new Google Typography panel and in the CSS Selectors field, paste the site title selector you just copied from the developer tools window. You have now targeted the site title of the theme and can now change the font, size and colour as you did for the paragraph and headers.
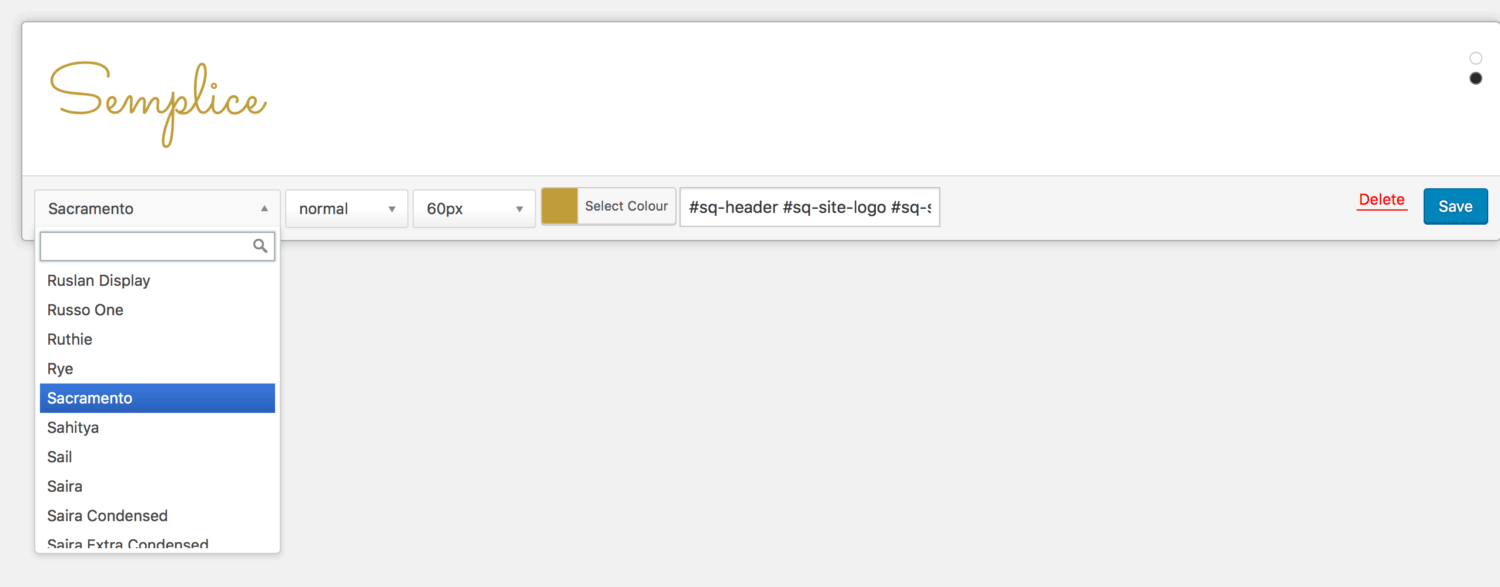
When you are happy with your new font choice, colour and size, click Save. Ta-da, your website header will now display these changes to your site title!

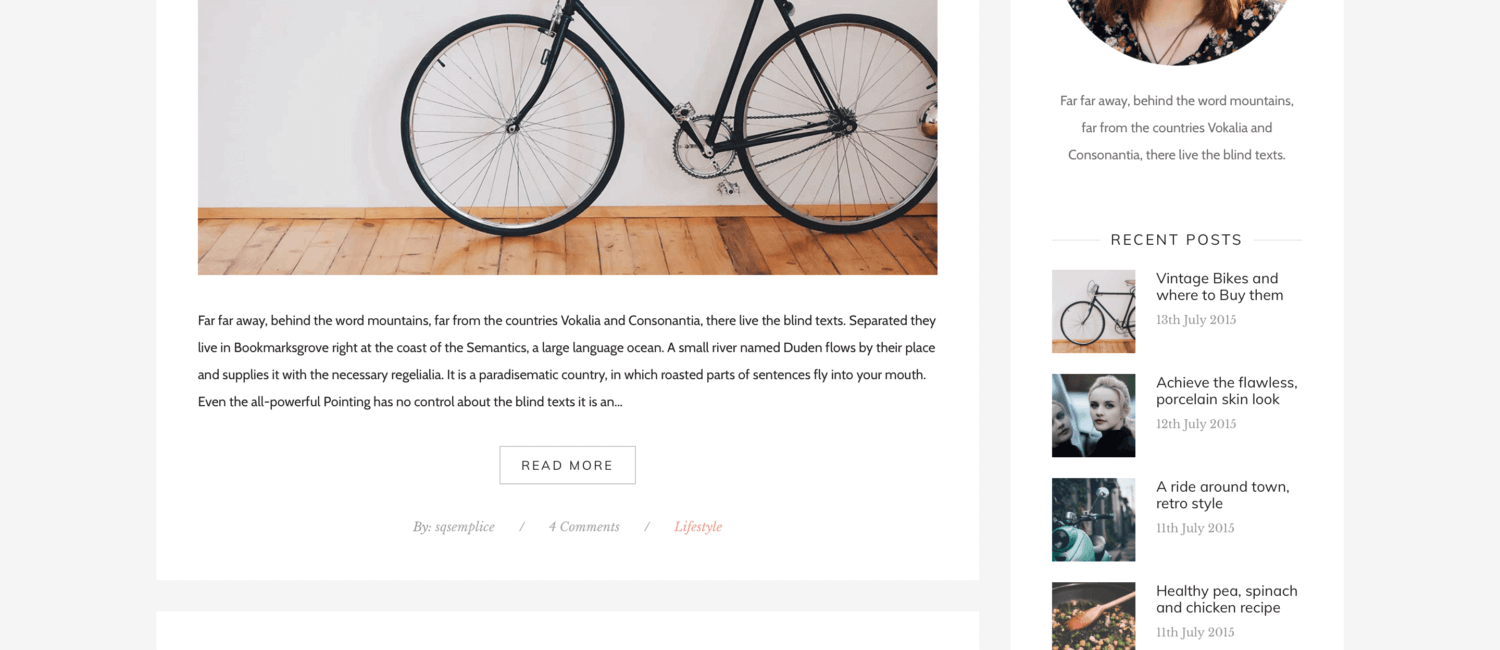
Now you have changed the site title, why don’t we try changing the font for a different text element in the theme as well, such as the ‘Read More’ button text? Go back to Chrome and right click on the ‘Read More’ text in one of the post buttons and then click ‘Inspect’.
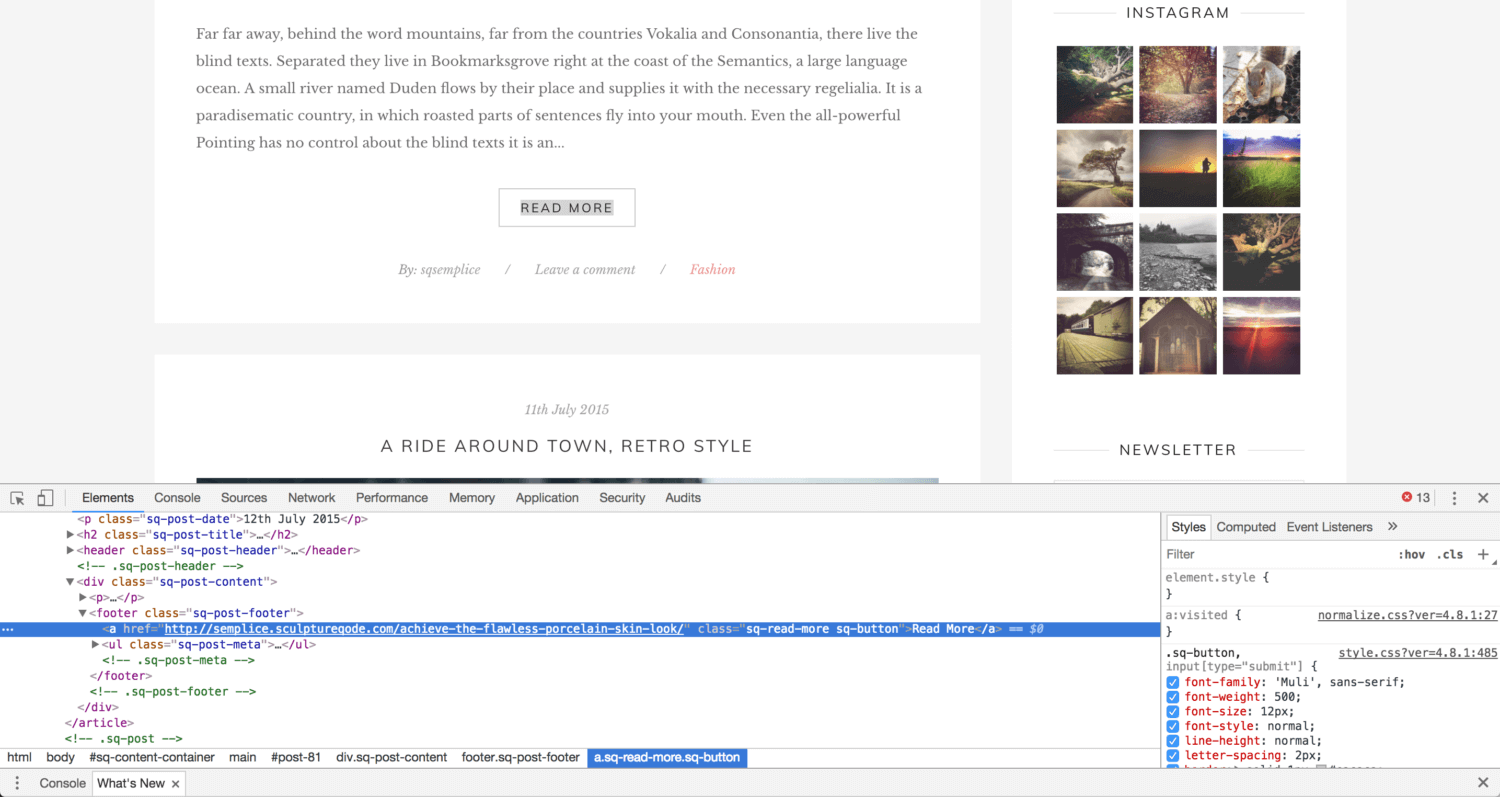
Copy the selector, which in this case for the ‘Read More’ button in Semplice, is:
.sq-button
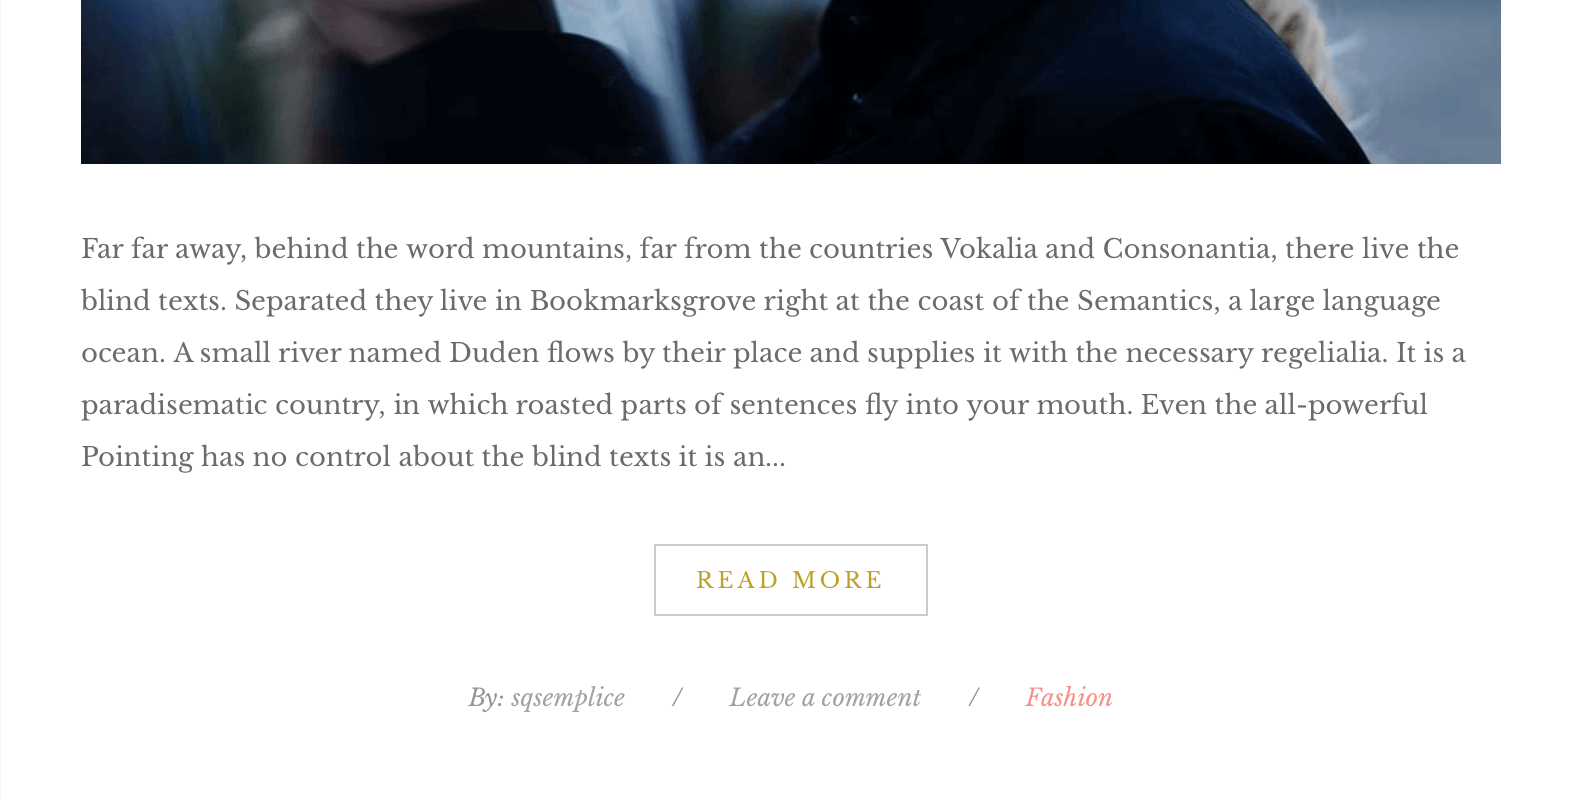
Paste it into the CSS Selector field of a new Google Typography panel. Change the font, size and colour to your liking and click Save.

The ‘Read More’ in each of your buttons for your posts will now also display the changes you have made. Simple as that!
And that’s all you need to know to use the Google Typography plugin. By using the Inspect Element tool, you can easily target any text element of your theme that you like and make it unique to you. Let us know your thoughts on using the Google Typography plugin and using the Inspect Element tool in the comments form below.
Hi!
I’ve been using the steps listed to change the typography for my site title, but for some reason it won’t save. I’ve entered the sample text, specified the font, size, px, color, and CSS selector and am working in an updated version of Chrome. Any ideas why it doesn’t reflect on my website permanently post hitting save? I’m using Zennor purchased from you guys. 🙂
Thanks!
Hi Chelsea,
Thanks for getting in touch! What are you entering into the CSS Selectors field? The code you need to enter to target the site title for Zennor is:
.header .branding .name a
We have just tested this on the Zennor demo and the site title changed for us with this code added to the CSS Selectors field. If you have entered this same code and it still isn’t working, please can you leave us a ticket on our dedicated support site, sculptureqode, and we will look into this further for you.
Thank you
Thanks, this was great, I was really baffled about changing fonts! One question is what is the difference between Google Typography and Easy Google Fonts. I have Easy installed having found an article on that first, and your directions seemed to match that, it certainly worked for me:)
Oh I see that Google Typography has not been updated in 9 months and is not compatible with my version, just looks to be done by a different person otherwise.
Hi Robert, thanks for your comments. Glad you found the article helpful!
We personally have not used the Easy Google Fonts plugin before so have only written about our experience with Google Typography, however looking into Easy Google Fonts, the main difference seems to be that you can change the font settings via the theme live customiser and see the changes to your site as you make them, whereas with Google Typography, you can preview how the font will be changed via Appearance > Typography. You can also change the line height and letter spacing with Easy Google Fonts too which isn’t currently possible with Google Typography. Although Google Typography does seem to be the more straight-forward plugin for changing the styling of more specific text elements.
I think we will certainly look into Easy Google Fonts as another alternative plugin for changing fonts!
Was wondering if you could help me with identifying a selector name.
and I am wanting to change all the “Dream Weaver Carpet” that is in the papyrus font, but I can not figure out what the css selector name is. Thank you.
Hi Kendra, thanks for commenting! I have just checked out your site and believe that the following will target the product name:
.ListedTitle a font
And to also target the page title which is also in Papyrus, the selector is:
h2.PageTitle font
You will have to do each one separately.
Hope this works, let us know if you need any more help.
Thank you
Good evening,
I am using Typography to change the theme identified in the example (Semplice) and I’m trying to change the H1. I have typed the ids and the string, just as its listed in the example. Like Chelsea, I see no change. In fact, when I inspect the code, I see the changes I made, but they are stricken (using strike through). How do I change the existing header font?
Hi Loren, thanks for your comment! If you are referring to the site title in the header, then this needs to be targeted more specifically and the selector for this is:
#sq-header #sq-site-logo #sq-site-nameIf this does not work or this isn’t the text element you mean, please leave us a support ticket on our dedicated support site sculptureqode where will be able to help you further.
Thank you!
Good afternoon,
I was able to make the changes. Thanks for providing such amazing tech support.